I bake on most weekends. It's just me and if I don't something is definitely not right! A few weekends ago I had the urge to make something with left over bananas that had been in my fridge for more than three weeks. Yes, you heard me ... three weeks! Surprisingly they weren't mushy at all, just slightly darkened.
To be frank I didn't have much time that week as I was baking a cake for a friend's grandfather's 100th birthday. So I wanted to do a quick cupcake recipe and came across this one from Joy of Baking's website. I have tried numerous recipes from here and every one turned out wonderfully. Even though I was really tired from putting the birthday cake together, I still wanted to do something to take to office the next day. The other incentive was that I had quite a bit of Swiss Meringue Buttercream left over which would do nicely on the cupcakes. If you are looking for a light and delicious buttercream recipe, I highly recommended a Swiss Meringue Buttercream. It is absolutely gorgous and smooth.
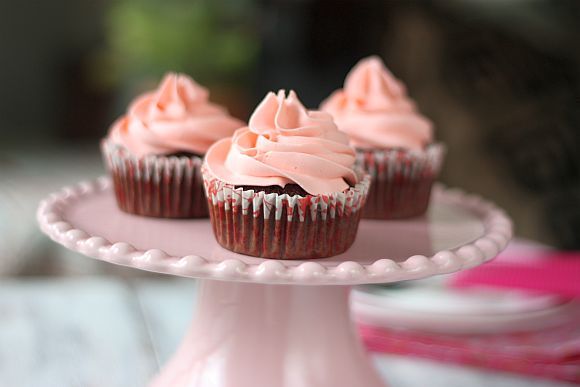
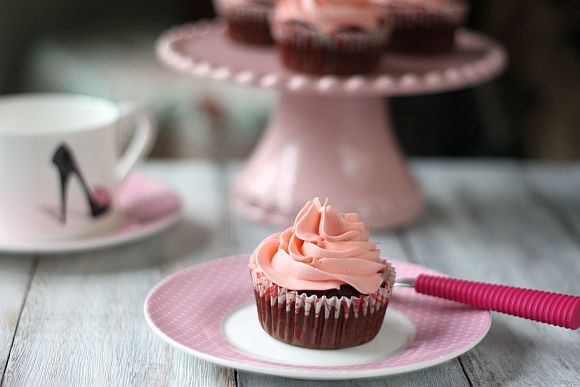
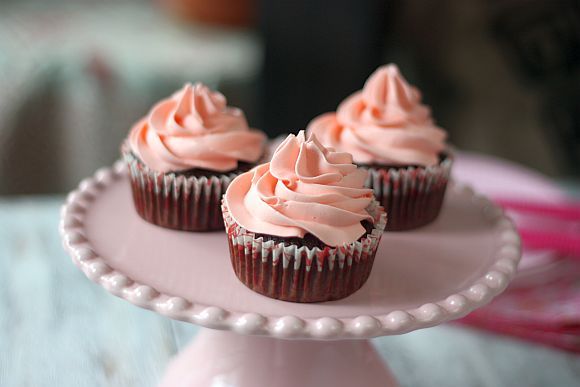
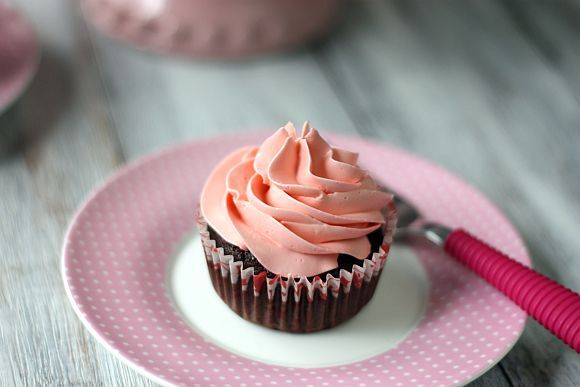 Banana Chocolate Cupcakes with Swiss Meringue Buttercream
Recipe Adapted from "Joy of Baking"
Makes 12 regular or 15 medium cupcakes
Ingredients:
3/4 cup caster sugar (reduced from original recipe)
1 cup all-purpose flour
1/3 cup unsweetened cocoa powder
3/4 teaspoons baking powder
3/4 teaspoon baking soda
1/4 teaspoon salt
1 large egg
1/2 cup mashed ripe bananas (I used "pisang emas", 4 pieces)
1/2 cup warm water
1/4 cup low-fat milk
1/4 cup canola, corn, or vegetable oil
3/4 teaspoon pure vanilla extract
Method:
1) Preheat oven to 180C or 165C for fan-oven. Line 12 regular-sized muffin cups with paper liner.
2) In a large bowl whisk together the sugar, flour, cocoa powder, baking powder, baking soda, and salt.
3) In another large bowl, whisk together the egg, mashed banana, water, milk, oil, and vanilla extract. Add the wet ingredients to the dry ingredients and stir until combined. (The batter is quite thin.)
4) Pour or scoop the batter into the muffin cups, about 3/4 full, and bake for about 20 minutes or until a toothpick inserted in the center of a cupcake comes out clean. (I found it easier to pour the batter into a jug and then transfer it to each cupcake liner)
5) Frost with your favourite frosting or with Italian Meringue Buttercream.
Makes about 9 cups, enough for about 28 cupcakes
 Swiss Meringue Buttercream
Recipe Adapted from Martha Stewart
Makes about 4 1/2 cups
Ingredients:
1 cup sugar
5 large egg whites
4 sticks cold slightly soften unsalted butter, cut into pieces
1 teaspoon pure vanilla extract
Method:
1) Place sugar and egg whites in the heat-proof bowl. Set bowl over a pan of gently simmering water, and whisk continuously until sugar has dissolved and egg whites are hot to the touch, about 3 minutes. Test by rubbing the mixture between your fingers; it should feel completely smooth.
2) Transfer bowl to a stand-mixer bowl. Using the whisk attachment, beat on high speed until mixture has cooled completely and formed stiff and glossy peaks, about 10 minutes.
3) Add the butter, one piece at a time, and beat until incorporated after each addition. Don't worry if the buttercream appears curdled. It will come together after a while. Continue beating until smooth and fluffy. Add vanilla, and beat just until combined.
4) Switch to the paddle attachment, and beat on the lowest speed to eliminate any air pockets, about 5 minutes. If using buttercream within several hours, cover bowl with plastic wrap, and set aside at room temperature in a cool environment. Or transfer to an airtight container, and store in the refrigerator, up to 3 days. Before using, bring buttercream to room temperature, and beat on the lowest speed with the paddle attachment until smooth, about 5 minutes