I must confess that I very seldom cook with pork. I guess this is because my late hubby, LT, never had a liking for this meat. However I was tempted to make some pork chops one weekend when I was doing my weekly grocery run at a local supermarket. The chops looked really inviting and I had just the right recipe for them.
It's funny that most of the pork I see in the local supermarket chiller counters seem to come from Australia. You might think that since Australia is such a distance away from Singapore, the pork cuts would be frozen. Surprisingly they are not! They are chilled just before export to retain its freshness. When meat is kept at a temperature of between 0°C and 4°C, spoiling bacteria doesn't grow on it the way it does at room temperature. If you buy chilled meat and have no plans to cook it on the same day, the meat can be safely frozen to be consumed within the next one or two days. However with frozen pork or other types of meat, once defrosted, it must be cooked immediately.
Did you know that frozen pork is imported into Singapore by sea? Well I didn't. The meat is usually kept at minus 18°C and can be stored at this temperature for up to two years! When it arrives here, it is frozen rock solid, and usually needs to be thawed before it can be sold to consumers. As with most frozen food stuff, the quality and taste of the product will definitely be compromised. That is why most chefs would insist on using the freshest cut of meats when cooking.
Some interesting facts about the shelf life of frozen meats when stored in a Freezer of -18°C:
Beef/Veal - shelf life of 12 Months
Lamb/Mutton - shelf life of 6 Months
Pork - shelf life of 6 Months
Poultry - shelf life 12 Months
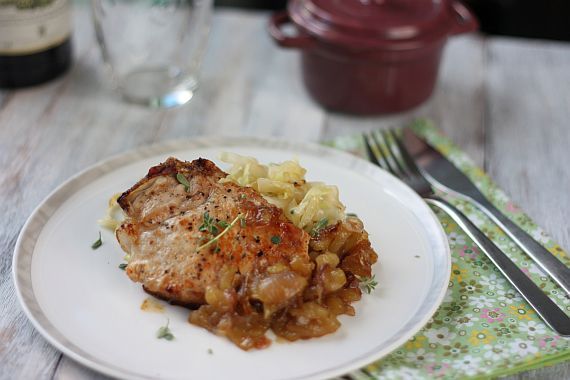
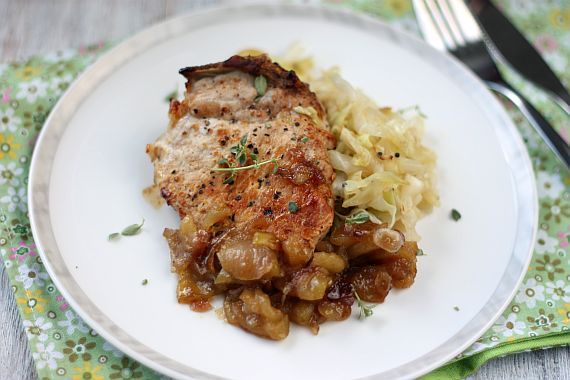
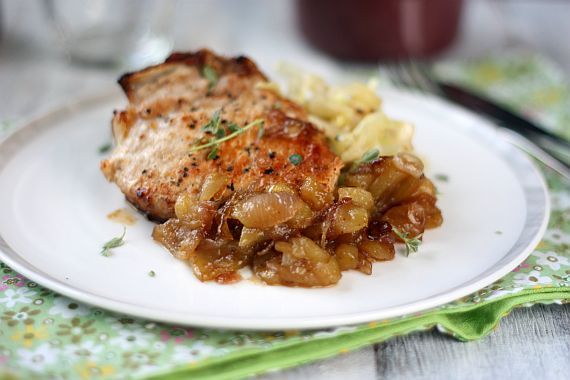 Pork Chop with Apple and Red Onion Chutney
Recipe Adapted from "Quick & Easy Workday Dinners"
Serves 4
Ingredients:
125g butter
1 medium size red onion, sliced
2 Granny Smith apples, peeled, cored, cut into quarters and sliced
1/2 tsp ground cloves
1/3 cup honey
4 pork loin chops, about 250g each
2 tsp oil
1/2 tsp mustard seeds
725g cabbage, sliced thinly
Salt and freshly ground black pepper
Method:
1) To make the chutney, melt 50g butter in a saucepan. Add the onion, apples, cloves and honey. Simmer, covered for 10 mins over low heat. Increase heat to medium and cook, uncovered for a further 20 minutes until it resembles a thick chutney. Allow to cool.
2) Season the dhops well on both sides with salt and black pepper. Leave to marinade for 20 mins.
3) Heat oil and 50g of butter in a large frying pan. Cook the chops on medium high heat for 6 - 8 mins on each side or until brown and cooked through. Remove and rest for 2 mins.
4) Melt remaining butter in pan, add the mustard seeds and cabbage. Cook covered over medium high heat, tossing in between for about 12 mins until tender. Season with salt and black pepper.
5) To serve, place a pork chop on each serving plate. Serve with cabbage on the side and a spoonful of the chutney.