Showing posts with label Pies and Tarts. Show all posts

Thursday, August 23, 2012

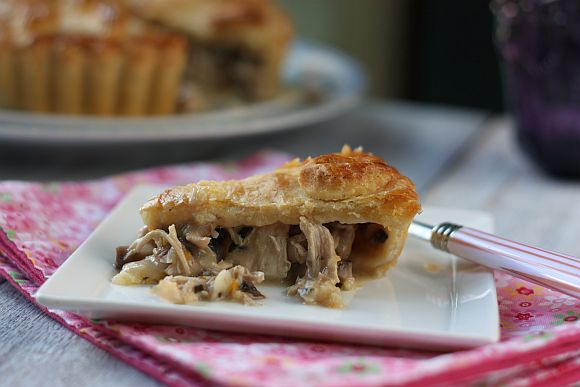
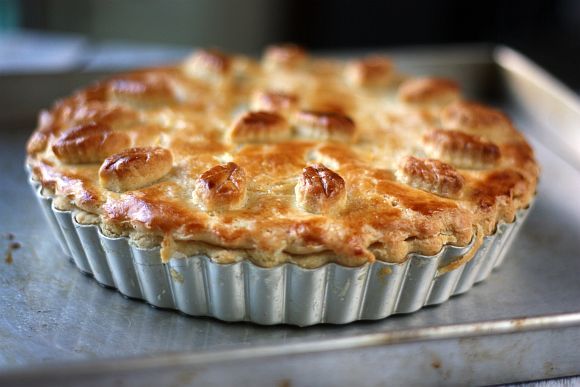
Chicken and Mushroom Pie inspired by Maggie Beer

My sister had told me to try out Maggie Beer's pie pastry a long while back.  I had totally forgotten about it and thought that it would be just another pastry recipe ... how good can it be?  One fine day I happened to chance upon a food blogger post mentioning the same recipe.  She had tried it out and swears that it is the best ever pie she has ever tasted! 

MBeerPie1

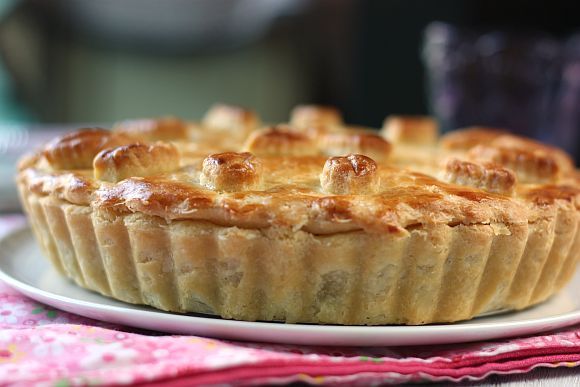
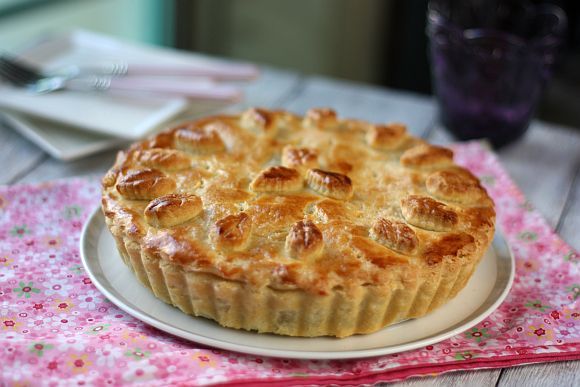
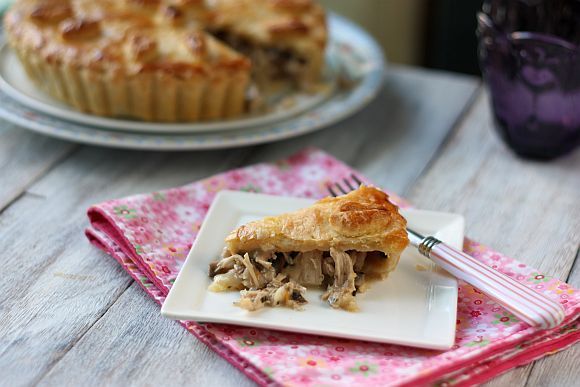
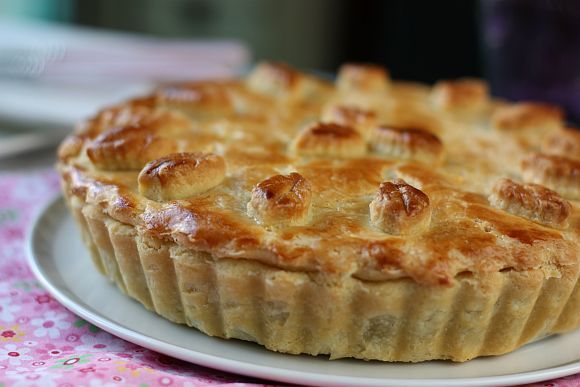
I must say that this is the longest ever chicken pie recipe I have come across.  Not only that, it had so many steps to putting the final product out.  It had better be good otherwise I would have wasted one whole afternoon.  And true enough it was fantastic.  The sour cream pastry was ever so moist, flavourful and crispy at the same time.  The base was only slightly soggy.  I have to say that the pie was great and the sour cream pastry recipe is even better - one that you could use in any savoury pies or tarts.
MBeerPie6


MBeerPie2

Chicken and Mushroom Pie
Recipe Adapted from "Maggie Beer's Pheasant Pie"

Marinade for the Chicken:

1 medium sized chicken about 1 to 1.2 kg weight
1/2 cup Extra Virgin Olive Oil
1 orange zested and juiced
8 sprigs fresh thyme
4 bay leaves, fresh (if using dried, use only 3)
Salt and black pepper to taste

Pie Filling:

60g unsalted butter
3 garlic cloves, crushed and roughly chopped
1 small onion diced
2 Tbsp rosemary chopped
350g portobello mushrooms diced into cubes
1 tsp salt flakes
30g flour
100ml white wine + extra 2 Tbsp
100ml chicken stock (unsalted) or water
80g thickened cream
50g walnuts roasted and rubbed, roughly chopped
1 lemon zested
Pinch of salt and ground black pepper to taste

1 Batch of Sour Cream Pastry (recipe below)

Glaze:

1 egg yolk
1/2 tbspn milk

Method for the Filling:

1) Preheat the oven to 200°C.

2) To prepare the chicken.  Remove the wing tips.  Cut the chicken along the breast bone side in half. Spread open the chicken and using the back of your palm, press hard against the back-bone.  Make a cut on each side in between the leg and the breast and dislocate each leg at the socket by bending them back.  Twist the legs 180 degrees, so the breast of the chicken and the skin side of the legs are facing up, then cut through to the back bone to remove the legs from the body. Remove the back-bone and discard. You should end up having the chicken in quarters.

3) Combine all the marinade ingredients into a large flat dish and mix well. Place the chicken in the marinade for a minimum of 20 minutes.

4) Line a baking tray with parchment and place the chicken skin side up.  Pour the marinade over the chicken pieces.  Roast the chicken for about 30 - 40 minutes depending on the overall size of the chicken.  Mid way through the cooking process, turn the chicken around.

5) Check  by inserting a skewer into the thickest part of the breast to see if any pink juices show, if so a few more minutes cooking is required. To rest, remove from the oven and turn the bird so that the breast and legs are facing down in the roasting pan.  Splash the chicken with 3 Tbsp of white wine and rest until cool enough to handle.  Once cooled, remove the flesh from the bones and set aside.

6) Roll the pastry to the desired thickness and cut into two circles, one x 27 centimetre and one x 21 centimetre for the lid. Line the fluted base with the larger circle and place the smaller circle on a plate and refrigerate.

7) Start to make the pie filling. Place a frying pan over high heat, melt the butter, fry off the garlic, onion and rosemary and then add the mushrooms. Sauté until the mushrooms are soft and half reduce by half their amount. Season with salt and pepper whilst the mushrooms are sautéing. Then add the flour to the pan to make a roux, cook out for 3 minutes, then pour in the wine and stock. Bring the mixture to the boil and stir in the cream.. Reduce to a simmer, cook the mixture for 15 minutes, check the seasoning and allow to cool in the fridge. Once cooled, stir in the shredded chicken meat and set aside.

8) Make the glaze quickly by mixing the egg yolk and milk together.

9) Take the pastry from the fridge and spoon the cooked chicken mixture into the base and cover with pastry top. Crimp and seal the edges. Brush glaze and make a pattern if you wish. If pastry warms in this process put back into the fridge for 5 minutes. Remove from the fridge and place in a 200°C preheated oven for 30 to 40 minutes or until the pastry is golden and is cooked through.  Serve with a side salad for a tasty lunch.
MBeerPie4

Sour Cream Pastry

Ingredients:

125ml sour cream
250g plain flour
200g unsalted butter chilled

1) To make the pastry, dice the butter, then pulse with the flour in a food processor until the mixture resembles fine breadcrumbs.

2) Add the sour cream and continue to pulse until the dough starts to incorporate into a ball.

3) Wrap the dough in plastic film and refrigerate for 20 minutes.

4) 
Roll the chilled pastry out until 3 mm thick and cut to suit your chosen recipe.
MBeerPie3


MBeerPie5

Monday, August 6, 2012

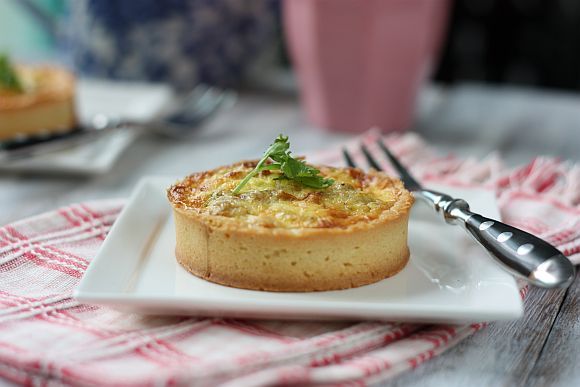
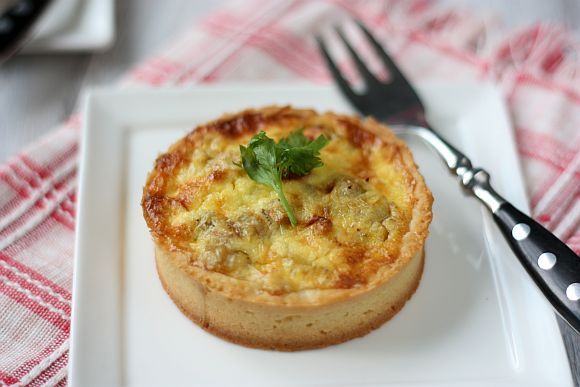
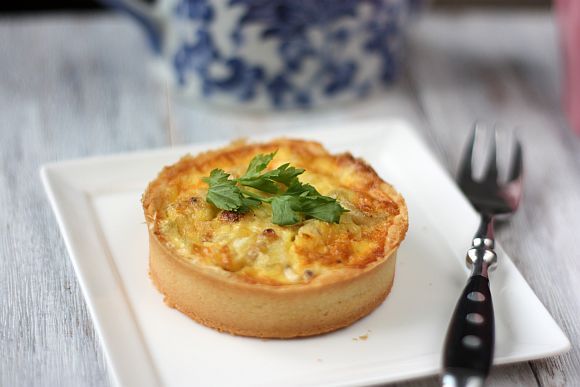
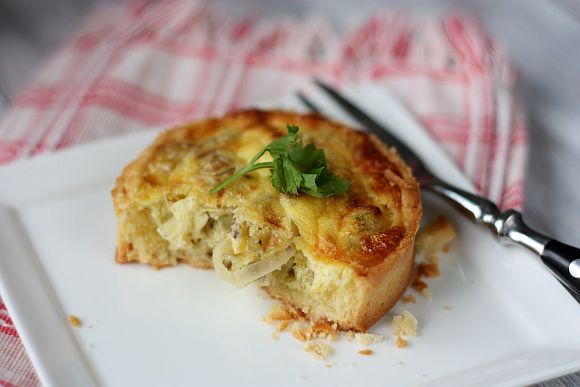
Bacon and Leek Tartlets

I really must apologize for being so slack with my postings.  To be honest I have not done much baking or trying out new recipes for a while now.  And I think the longer I stay away, the more slack I have gotten. 

However my blog is always at the back of my mind and I hope to pick up from where I have last stopped.  I made these tartlets quite a while back and they are extremely delicious.  You can even freeze them and then reheat them back in your oven whenever you feel like having a quick lunch or snack.


leek tart 1


leek tart 3

Bacon and Leek Tartlets
Recipe Adapted from Taste.com.au
Ingredients for the Pastry:

2 cups plain flour
150g butter, chilled and cut into cubes
1 egg yolk

Ingredients for the Filing:

20g butter
1 large leek, trimmed, halved, washed, thinly sliced
160g rindless shortcut bacon, chopped
2 tablespoons chopped fresh flat-leaf parsley leaves
1/2 cup grated cheddar cheese
4 eggs
1/2 cup fresh milk
Pinch of dried mixed herbs
Salt and pepper to taste

Method:

1) Combine flour and butter in a food processor. Process until mixture resembles fine breadcrumbs.

2)  Add the egg yolk and process until dough just comes together. Turn pastry onto a lightly floured surface. Shape into a disc. Wrap in plastic wrap. Refrigerate for about 30 mins until slightly firm.

3) Meanwhile, prepare the filling. Melt butter in a frying pan over medium-low heat. Add leek and bacon.  Cook, stirring occasionally, for 10 to 12 minutes or until leek is soft. Remove from heat. Stir in parsley. Leave aside to cool. 

4)  Roll out pastry between 2 sheets of baking paper or cling film to form a 30cm circle. Line base and side of of tart moulds with pastry, trimming excess. Prick the tart shell and freeze for about 15 minutes.

5)  Preheat oven to 180°C/160°C fan-forced.  Place tart shells and bake blind for about 10 minutes. Remove baking paper and rice or weights and bake for another 10 minutes or until pastry is golden brown. Cool tart shells for 5 minutes.

6)  Beat the eggs lightly, season with salt and pepper.  Add in the grated cheese and the leek/bacon filing.  Spoon into tart shells and bake for about 20 mihnutes until top is golden brown. Serve tartlets with a side salad.

leek tart 2

leek tart 5

leek tart 4

Monday, April 16, 2012

Passionfruit Lime Tart

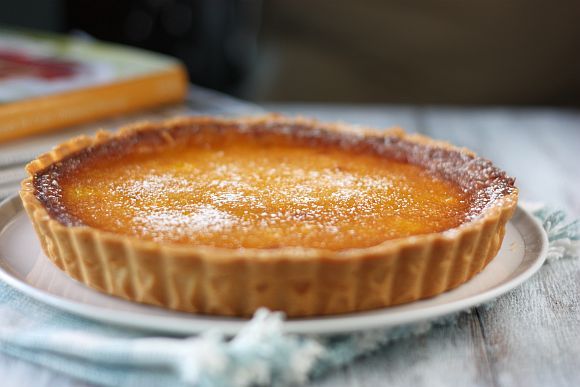
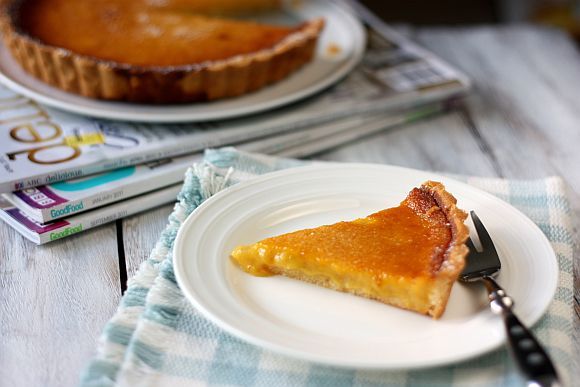
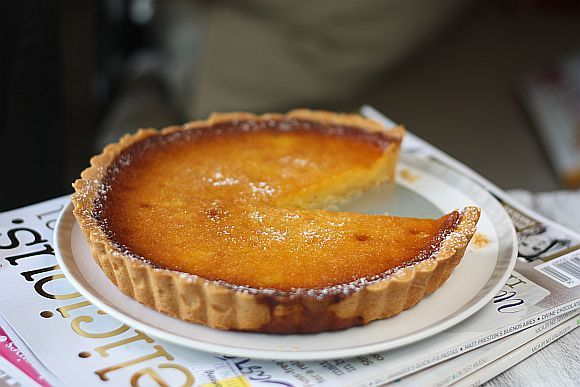
My office colleague would bring passionfruit for me once in a while when she visits her hometown in Malaysia. So about three weeks ago, she brought back about half a dozen and I promised her that I would make a dessert from the pulp and bring it to the office.

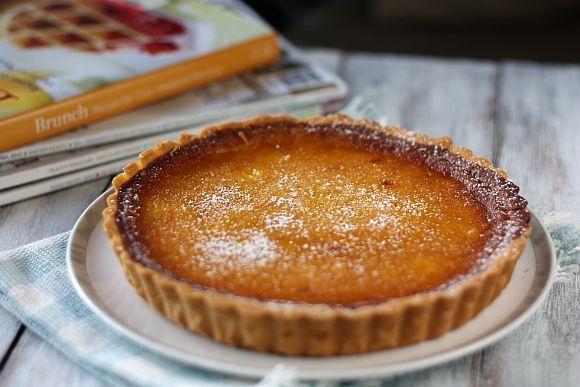
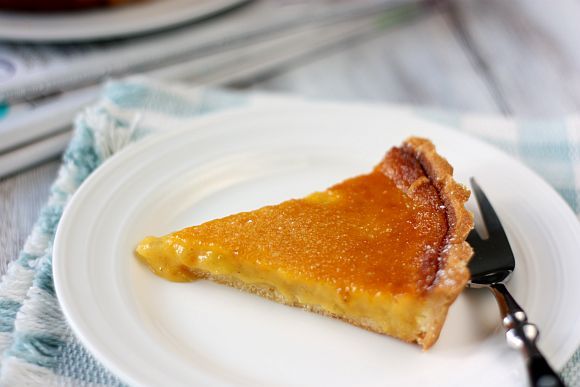
The idea of using the pulp in a dessert tart sounded really good and this particular recipe from Matt Moran really got me going. However I did change the filing somewhat by adding lime juice and zest to it. The flavours were amazing, passionfruit with an added tang coming through from the lime. The pastry crust was nice as well, not the flaky version but somewhat resembling that of a buttery shortbread cookie.

Passionfruit tart 2


Passionfruit tart 4


Passionfruit Lime Tart
Adapted from "Matt Moran (Lantern)" by Matt Moran

Sweet Tart Pastry

Ingredients:


225g unsalted butter, cold
100g icing sugar
375g plain flour (2 1/2 cups)
1 egg, lightly beaten
1 egg yolk, lightly beaten

Passionfruit Lime Filing

Ingredients:


7 passion fruits, scoop out the pulp
Finely grated zest and juice of 1 lime
150g caster sugar
5 egg yolks
130ml double cream (thickened cream)
Icing sugar for dusting (optional)

Method:

1) Cut the butter into small cubes.

2) Place the flour and icing sugar into a food processor and blizt for 10 seconds.

3) Scatter the butter cubes around the flour in the processor and pulse the content until it resembles breadcrumbs.

3) Drizzle the beaten egg into the mixture until it comes together.

4) Remove the dough onto a clingwrap. Form the dough into a disc, flatten it slightly and wrap tightly. Place in the fridge for 20 to 30 minutes until slightly harden.

5) Remove from fridge and roll it until 1/4" thick. Line a 9" tart pan with a removable bottom. Prink the dough and then place the tart shell into the refrigerator for a couple of hours until harden.

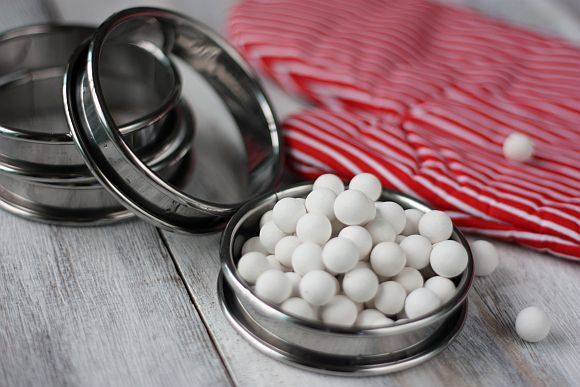
6) Preheat oven to 180C. Line the tart with baking parchment and baking beans, then bake for 15 mins. Remove the parchment, bake for a further 5-10 mins until golden, then remove from the oven and reduce the temperature to 140C.

7) Whilst the tart shell is baking, place the passionfruit flesh into a food processor. Blend for about half a minute. Push the pulp through sieve and mix the juice with the lime zest and juice. Beat the sugar and yolks together until pale, then beat in the cream and fruit juice.

8) Once the tart shell has been partially pre-baked, remove from the oven.
Carefully pour the custard into the tart case, then bake for 40 mins at 140C, until set with a very slight wobble.

9) Remove the tart from the oven, then leave to cool completely. Dust with icing sugar prior to serving.

Passionfruit tart 1


Passionfruit tart 3


Passionfruit tart 5

Sunday, March 18, 2012

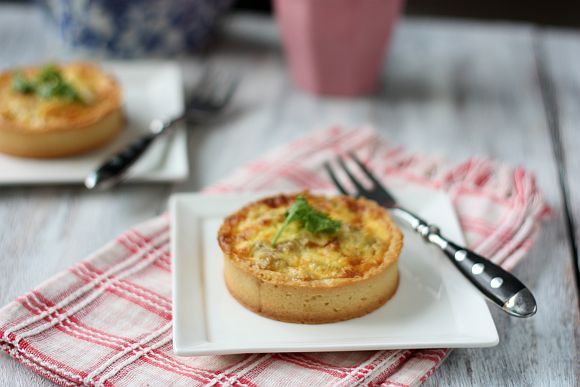
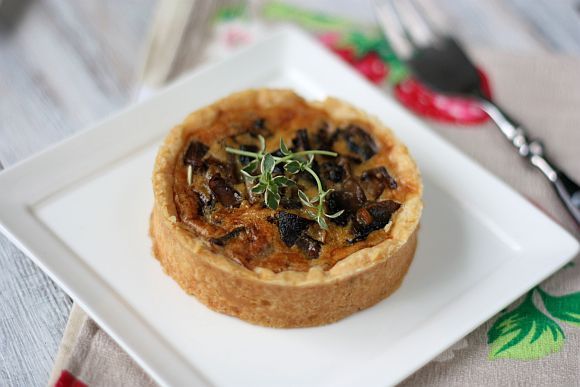
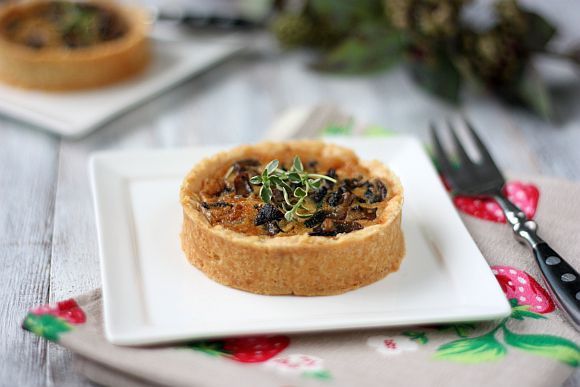
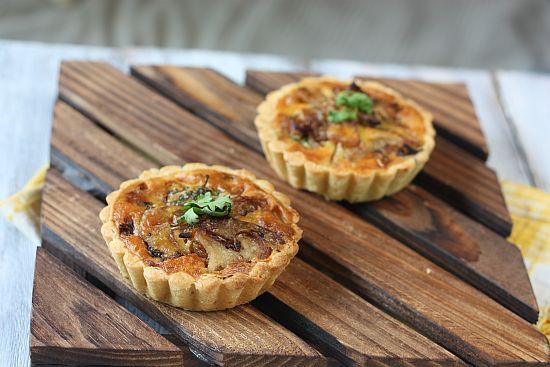
Wild Mushroom Tartlets

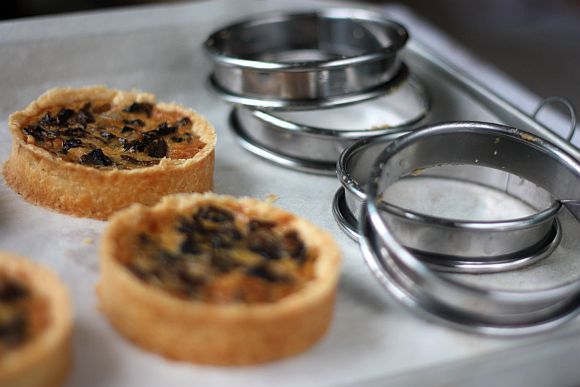
I have finally found bottomless tart rings in Singapore! I have been looking for these for a long while now and had even contemplated purchasing them from overseas and having it shipped to Singapore. However the shipping cost which was even more than the tart rings itself had detered me from doing so. If I really had bought them I would have had to kick myself really hard in the butt because the rings sold here in Singapore are much cheaper.

I made some wild mushroom tartlets as opening ceremony for the rings. I usually tend to make the tart shells over a weekday and freeze them until weekend when I have more time to bake. So it is quite often that I do have a spare unbaked tart shell lying in a corner of my freezer. Really handy too whenever I feel like having a tart for dinner.

Mushroom tart 1


Mushroom tart 4


Wild Mushroom Tartlets
Makes a 9" tart or Four 4" tartlets

For the Pate Brisee:

250g all purpose flour
150g cold unsalted butter, cut into small pieces
1 tsp fine salt
1 medium egg
1 Tbsp cold milk

Method for the Pate Brisee:

1) Sift flour and salt into a bowl.

2) Add in the butter.

3) Using a pastry cutter, cut the butter into the flour until it resembles rough breadcrumbs.

4) In a separate bowl, lightly beat the egg with the milk and drizzle it onto the flour mixture.

5) Using your hands, blend the mixture together and lighly knead to bring together. Try not to handle the dough too much.

6) Roll the dough into a ball, wrap in plastic wrap, flatten it into a disk and chill for about 45 minutes to an hour.

8) To line your tart tray, I find it easier to roll the dough between two pieces of clingwrap plastic. Roll to about 3" wider than the base of your tray. Remove the top wrap.

9) Lift the dough using the clingwrap plastic and gently flip it into your tart tray. Press the dough onto the tray and trim off the excess.

10) Dock the base of the tart shell with a fork and then place it into the fridge for another hour.

11) Preheat oven to 190C. Bake the shell blind, for about 15 minutes. Then remove the parchment paper and bake for another 5 minutes. Remove from oven and let it cool before pouring in the filing.

Cook's Note:

You can also use your food processor. Just whisk the dry ingredients first. Then drop in the cubed cold butter into the processor. Pulse until the mixture resembles rough breadcrumbs. Then slowly add in the egg and pulse until the dough comes together - do not overdo this otherwise your dough will be very hard.


Mushroom tart 2


Ingredients for the Filing:
Recipe Adapted from Taste.com.au

50g unsalted butter butter, chopped
1 small onion, finely diced
3 garlic cloves, thinly sliced
400g mixed wild mushrooms, roughly chopped
2 eggs
1 cup thickened cream
80g grated mixed cheddar
1/2 tsp mixed dried herbs
Salt and pepper to taste

Method:

1) Melt butter in a large frying pan over medium-high heat. Add onions and garlic. Cook, stirring often, for 5 minutes or until soft.

2) Add the mushrooms and dried herbs, and cook for 4 minutes or until just tender. Set aside for 10 minutes to cool.

3) Whisk eggs, cream and salt and pepper in a jug. Spoon mushroom mixture into pastry case. Pour over egg mixture. Top with cheese. Place on hot tray. Bake tart for 40 minutes or until centre is set and top is light golden. Serve whilst still warm.

Mushroom tart 3


Photobucket

Tuesday, December 27, 2011

Apple Tart "Maman Blanc"

You could say I am an avid fan of the Food Channel on my local cable television. There are so many programs I currently follow that it would be simply impossible to list down. On some evenings, my television set would be just tuned to only one channel and nothing else. I'm not sure if this could be viewed as a compulsive, obsessive behaviour - you tell me!

Photobucket


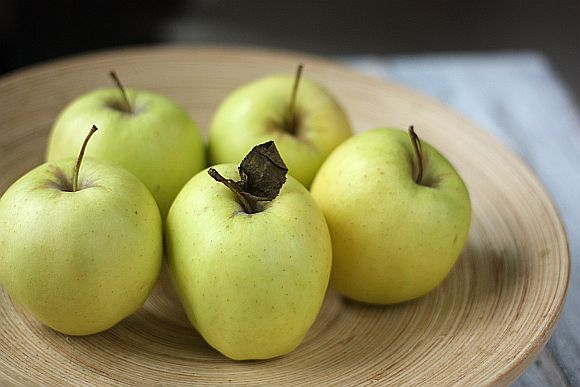
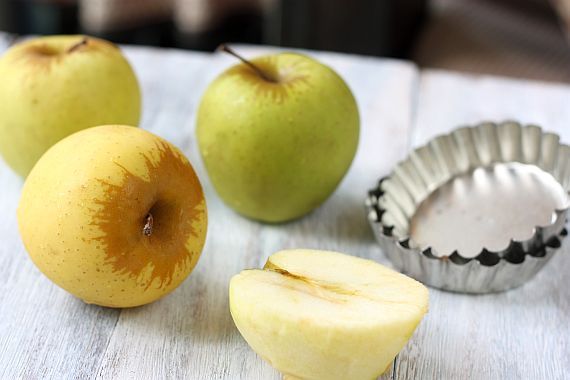
Another compulsion of mine is to buy groceries first and then try to source for a recipe around what I had purchased. Would not a sane person do the opposite? Guess what I did it again two weekends ago. I purchased golden delicious apples and had to source for a recipe to consume them. This is where the Food Channel comes in useful. I've made a couple of apple tarts before and have posted them as well. So I didn't want to repeat something that I had already tried out and tested.

apple custard 3


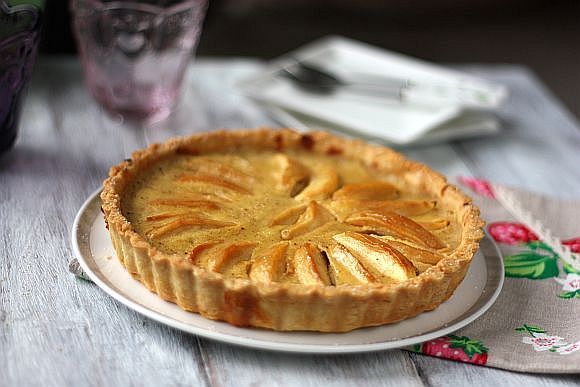
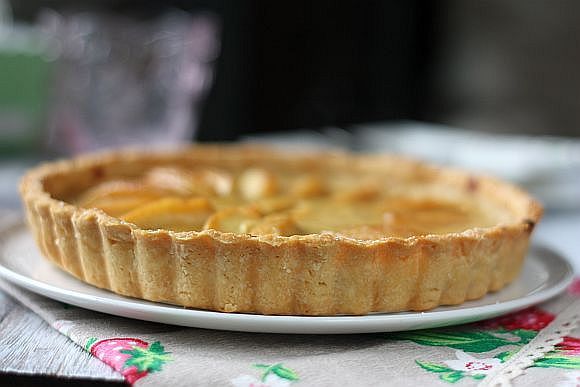
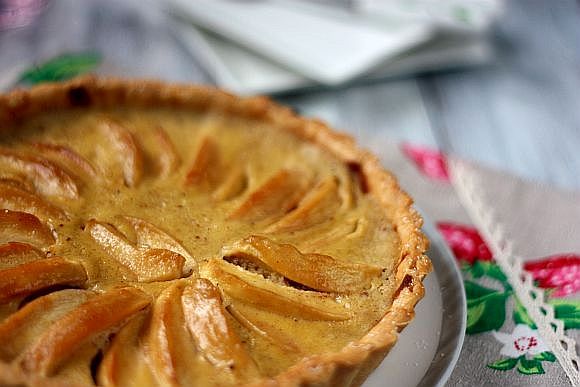
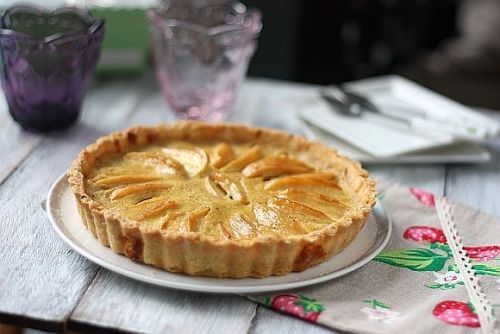
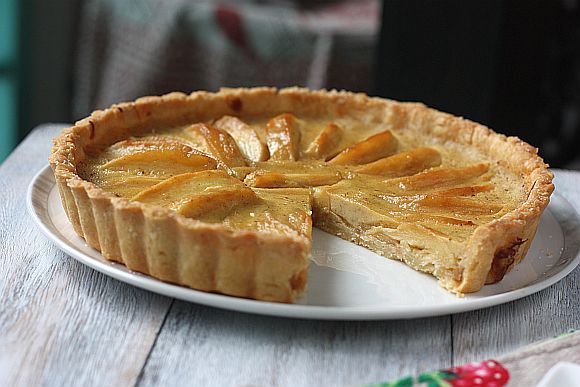
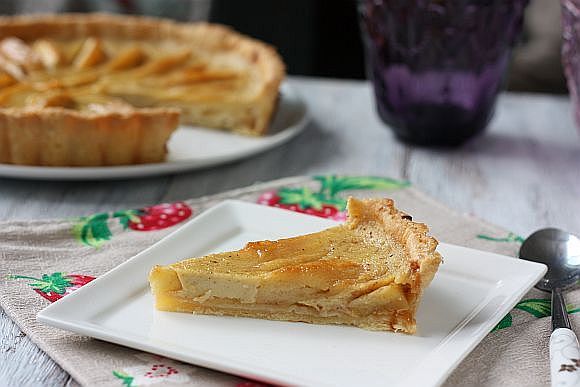
Timely again when I watched Raymond Blanc's "Kitchen Secrets" as he was making a Apple Custard Tart. So it is this particular recipe that I am now posting. The tart dough is new as well but I must say that the pastry is extremely good. It is flaky but at the same time a sturdy one. Some tart pastry tends to be flaky but falls apart once you cut through it. Well this doesn't! In fact it held up very well even one day after it was baked. The custard filing is extremely delicious and moist. However because as it is a custard, it is best consumed on the same day. I served it plain but I am sure it would have been delicious accompanied by a good vanilla ice-cream or creme fresh. Definitely a keeper recipe in my opinion.

apple custard 2


Photobucket


Apple Tart "Maman Blanc"
Recipe Adapted from Raymond Blanc's "Kitchen Secrets"

For the Pastry:

250g/9oz plain flour
pinch sea salt
125g/4oz unsalted butter, diced, at room temperature
1 tsp cold water
1 medium sized egg

For Glazing the Apples:

15g unsalted butter
1 tsp lemon juice
15g sugar

For the Custard Filling:

35g caster sugar
1/2 Tbsp brandy
1/2 tsp mixed spice
1/2 tsp nutmeg
1/2 tsp cinnamon powder
3 golden delicious apples (or cooking apple), peeled, cores removed, each cut into 10 segments
100ml double or thickened cream
1 medium egg

Method:

1) For the pastry, pulse together the flour, butter and salt in a food processor until you reach a sandy texture. Add the egg, water and pulse again. If you over mix the dough at this stage it will lose its flakiness.

2) Transfer the dough onto a lightly floured work surface and knead with the palms of your hands for 30 seconds, or until the dough is smooth and well combined.

3) With the palm of your hand flatten the dough slightly to 1cm/½in thickness, then sandwich it between two large sheets of cling film. Chill in the fridge for 30 minutes.

4) Preheat the oven to 220C/440F/Gas 7. Place a baking tray into the oven to preheat.

5) Roll the chilled dough, still sandwiched in cling film, to a 2mm thickness. Place a 22cm/9in diameter, 2cm/¾in deep tart ring on a greaseproof lined wooden peel or baking tray. Remove the top layer of clingfilm and carefully pick up the dough, place it into the tart ring with the second layer of clingfilm facing up. Lift and tuck the dough into the edges of the ring and discard the clingfilm. By tucking in the base you will minimise the shrinking of the dough during cooking. Trim off any excess with a rolling pin.

6) Using your index finger and thumb, pinch and press the dough until it's 2mm above the tart ring all around the edge. With a fork, prick the bottom of the tart. Chill in the fridge for 20 minutes.

7) Meanwhile, for the filling, heat the butter, lemon juice and 15g of the sugar in a small saucepan until the butter has melted and the sugar has dissolved. Remove from the heat and stir in the brandy. Set aside.

8) When the tart case has chilled, arrange the apple segments in concentric circles, overlapping the apple slices as you go. Brush the apples all over with the brandy/butter mixture. Slide the tart ring onto the pre-heated baking tray and bake for 10 minutes.

9) Reduce the oven temperature to 200C/400F/Gas 6, then continue to cook for a further 20 minutes, until the pastry is pale golden-brown and the apples have caramelised.

10) Whisk together the cream, egg, spices and the remaining 35g caster sugar until well combined. When the pastry is pale golden-brown and the apples have caramelised, pour the custard mixture into the tart, bake for a further 10 minutes or until the filling mixture has just set.

11) To serve, remove the tart from the oven and set aside for 1 hour to cool slightly, then carefully remove the tart ring. Dust all over with icing sugar. Serve immediately.

apple custard 1


apple custard 5


apple custard 4

Monday, July 11, 2011

Tarte Aux Pommes (French Apple Tart)

apple tart 1


The best thing about making desserts from apples is that we get the fruit all year round. The apple fruit is believed to have originated from Asia and did you know that there are more than 7,000 varieties of apples which are available worldwide. The fruit is grouped mainly into three categories - cider, cooking and dessert varieties. They are a rich source of vitamins A and C, potassium, fiber and carbohydrates.

Now how can you tell if an apple is good or not? Check by looking at the exterior of the apple - it should be smooth, and free of bruises or cuts. The firmness of the apple is proof of its sweetness. Storage of the apples in an important aspect and care should be taken to store them in a cool and dry place, wrapped in a poly bag. I usually keep my apples in the vegetable compartment of my refrigerator.

The top five most popular apples which you would usually find in your neighbourhood supermarkets are the Red Delicious, Golden Delicious, Gala, Fuji and Granny Smith. Each type of apple has it's own unique sweetness, texture, shelf life and flavour in a cooked or baked dish. And all of these are equally good eaten on it's own.

applet tart 3


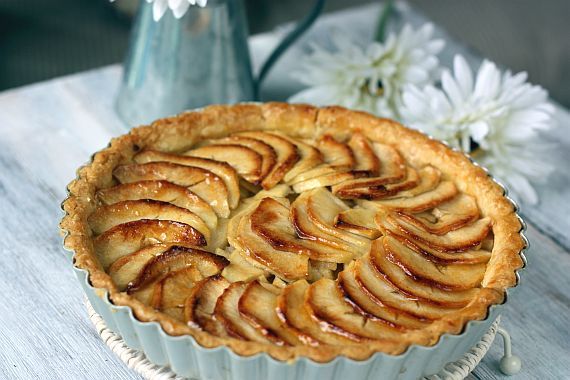
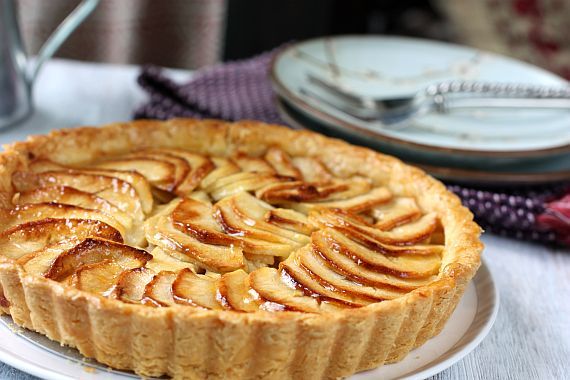
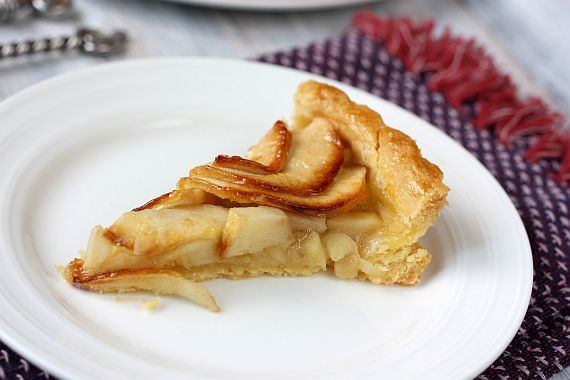
I made this apple tart from a book I had borrowed which centered solely on tarts, both savoury and sweet. The recipe was easy enough and the picture enticed me further. I've very much driven by pictures and presentation whenever I try out a recipe. This tart recipe works extremely well with Golden Delicious as this particular apple can withstand long baking times and is great when made into applesauce. (You could substitute with another flavoured apple but if using Granny Smith, the entire taste would be altered) It is a subtle fragrance which can be smelled when the tart is being baked in the oven. The apple slices did not dry out at all in the oven and the end result was a very moist, delicious apple tart.
apple tart 5


Tarte Aux Pommes (French Apple Tart)
Recipe Adapted from Tarts – Sweet & Savoury by Maxine Clark
Serves 6 – 8

Ingredients:

1 recipe Pate brisee

Apple Filling:

4-5 Golden Delicious (or good well flavoured apples), peeled and cored
3 Tbsp brown sugar
½ tsp cinnamon powder
50g cold unsalted butter, cubed
4 – 6 Tbsp apricot jam

Method:

1) Bring pastry to room temperature. Preheat oven to 200C and put a baking sheet in the oven to heat up.

2) Roll pastry thinly on a lightly floured work surface and line a 25cm loose based tart tin. Chill tart shell for about 30 minutes.

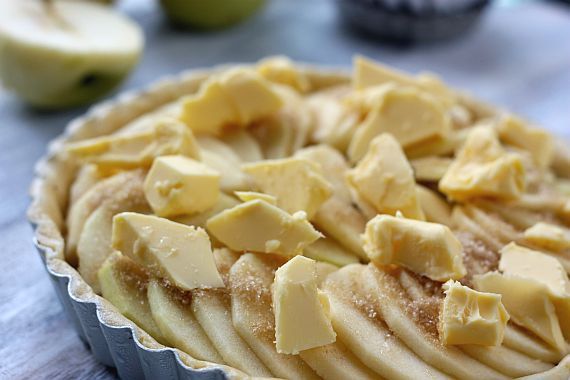
3) Slice apples thinly and coarsely chop up the uneven smaller pieces. Arrange the smaller pieces in the base of the tart shell. Cover the one third of the slices in a circular pattern. Arrange the remaining in a concentric rings over the chopped apples. Sprinkle the sugar and cinnamon powder all over the sliced apples. Then dot with the cubed butter.

4) Set the tart tin on the baking sheet and bake for about 45 mins to an hour until the apples are very well browned and the pastry golden in colour. Remove from the oven and cool for 10 minutes before removing from the tart tin.

5) Brush the top of the tart with apricot jam which had been warmed in a microwave oven. Serve the tart at room temperature.

PATE BRISEE

200g plan flour
½ tsp of salt
125g unsalted butter, softened
1 large egg yolk
2 – 3 Tbsp iced water

Method:

1) Sift flour and salt in a bowl, set aside.

2) Put the butter and egg yolk in a food processor and blend until smooth. Add the water and blend again.

3) Add the flour and salt, and pulse until mixed.

4) Transfer mixture to a light work surface and knead gently until smooth. Form into a ball, flatten slightly and wrap in clingwrap.

5) Chill the dough for about 30 minutes. Return to room temperature before rolling out.

apple tart 2


apple tart 4


applet tart 6

Friday, June 17, 2011

Potato and Caramelised Onion Tart

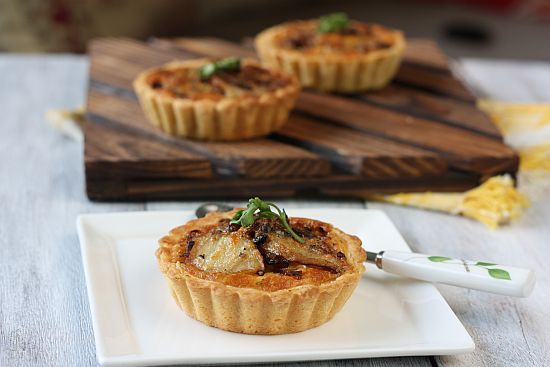
I have always had a thing about tarts ever since I first started to bake and blog in 2008. Imagine an empty tart shell and the number of possibilities! It is like handing out an empty canvas to a painter! I love baking both savoury and sweet tarts, but I think the preference is steered more towards a savoury tart because it was very much enjoyed by my dearest LT who passed on last year!

Whenever I do make tarts, I would do small ones instead (simply because they are easier to serve and no messy cutting) and I would also tend to make extra shells. I would keep the unbaked shells in my freezer and they could be sitting around for a few weeks or even a month before I have the urge to make something of them. If you have unexpected guests who could just turn up at your door step, you then have something you could easily put together and feed them! Thankfully I don't have unannounced visitors of this nature.

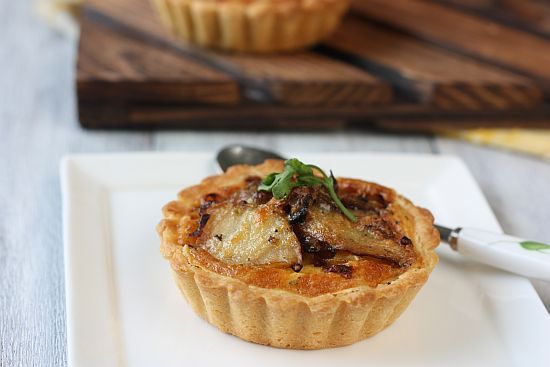
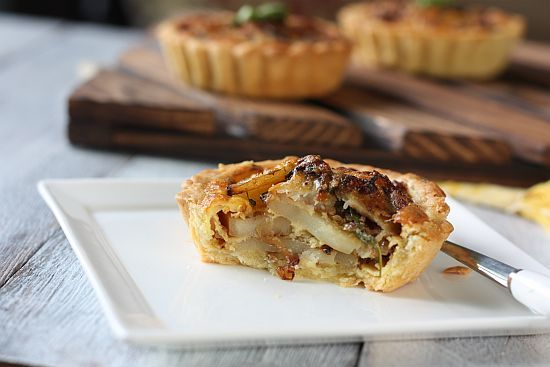
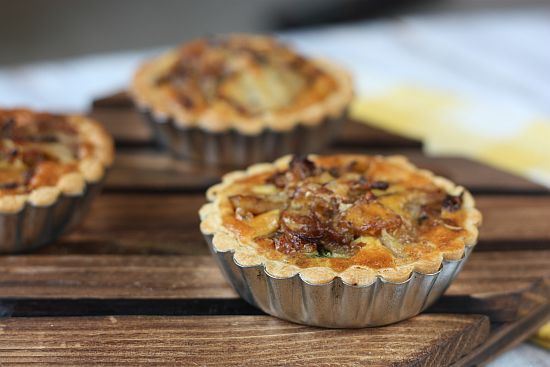
Well, this particular recipe is a savoury tart. You guessed it! I had unbaked frozen tart shells just sitting in my freezer. Plus half a bag of potatoes - hurray for this! Prior to posting I have already made this savoury tartlet on three separate occassions and I guarantee that you would be making it again too if you have tried it. For variation, you could add some bacon bits to give it an extra smokey taste. Hmmm just writing this post already makes me want to whip up another batch!

potato tart 3


potato tart 1


potato tart 5


Potato and Caramelised Onion Tart
Recipe Adapted from Taste.com.au
Makes Eight 3.5" Tartlets

For the Pate Brisee:

250g all purpose flour
150g cold unsalted butter, cut into small pieces
1 tsp fine salt
1 medium egg
1 Tbsp cold milk

Method for the Pate Brisee:

1) Sift flour and salt into a bowl.

2) Add in the butter.

3) Using a pastry cutter, cut the butter into the flour until it resembles rough breadcrumbs.

4) In a separate bowl, lightly beat the egg with the milk and drizzle it onto the flour mixture.

5) Using your hands, blend the mixture together and lighly knead to bring together. Try not to handle the dough too much.

6) Roll the dough into a ball, wrap in plastic wrap, flatten it into a disk and chill for about 45 minutes to an hour.

8) To line your tart tray, I find it easier to roll the dough between two pieces of clingwrap plastic. Roll to about 3" wider than the base of your tray. Remove the top wrap.

9) Lift the dough using the clingwrap plastic and gently flip it into your tart tray. Press the dough onto the tray and trim off the excess.

10) Dock the base of the tart shell with a fork and then place it into the fridge for another hour.

11) Preheat oven to 190C. Bake the shell blind, for about 15 minutes. Then remove the parchment paper and bake for another 5 minutes. Remove from oven and let it cool before pouring in the filing.

Cook's Note:

You can also use your food processor. Just whisk the dry ingredients first. Then drop in the cubed cold butter into the processor. Pulse until the mixture resembles rough breadcrumbs. Then slowly add in the egg and pulse until the dough comes together - do not overdo this otherwise your dough will be very hard.


Ingredients for the Potato Filing :

35g unsalted butter
3 medium sized onions, sliced
1/4 tsp brown sugar
3 medium potatoes, thinly sliced (I used Russett)
1/4 cup finely grated parmesan
4 eggs, lightly beaten
1/2 cup thickened cream
1/2 tsp dried mixed herbs
1/2 Tbs roughly chopped fresh Italian parsley or cilantro
1/4 tsp mixed all spice
Salt and cracked black pepper, to taste
Shredded basil leaves or Italian parsley for decoration

Method for the Tart:

1) Grease the tartlet molds with removable base with oil spray or butter. Line the molds with Pate Brisee pastry. Trim off excess pastry and roll it back into a disk. Refrigerate pans for 20 minutes.

2) Then heat butter in a large non-stick frying pan over medium heat. Add the onions and cook for 15 minutes. Add the brown sugar and potatoes and cook for a further 10 minutes until the mixture is caramelised. Stir in dried mixed herbs, fresh herb, salt and pepper and set aside to cool slightly.

3) Preheat oven to 180°C. Place parmesan, egg and cream in a bowl and whisk to combine. Divide the potato/onion mixture between the chilled tartlet molds. Then spoon the egg mixture over the potato/onion.

4) Bake for 20 minutes or until set and golden on top. Serve warm or at room temperature.

potato tart 2


potato tart 4


potato tart 6

Monday, March 28, 2011

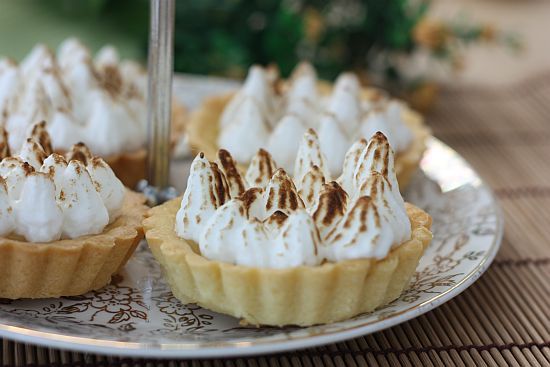
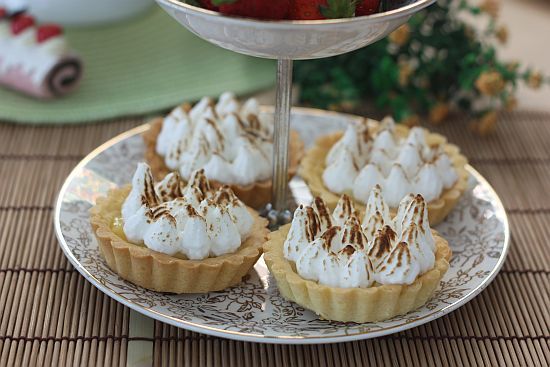
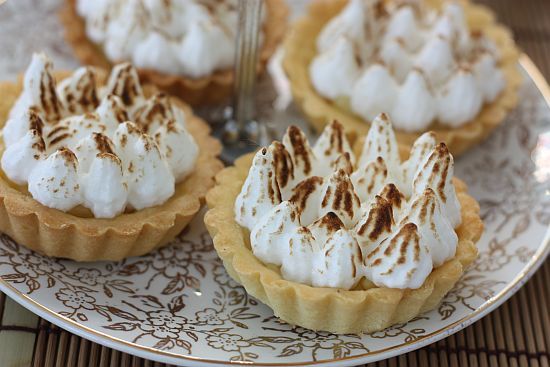
Lemon Meringue Tartlets

A few weeks back whilst at a local supermarket, I happened to bump into a friend of mine whom I have not seen for years. However we do keep in contact through Facebook. That's the best thing about social networking sites because you are in touch with people you know without having to be physically in the same place at the same time. But then again there's the downside about it - everyone seems to know what you are up to and there is no where to hide!

lemon meringue 4


My friend's eight year old daughter had been bugging her for a pet dog and the standard reply has always been "no, you can't have one because your baby brother is on the way". My friend is currently pregnant with her third child. Later that evening I received a text message from my friend asking if she could bring her daughter over to my place on the weekend to help me bath my two dogs. Her mother thought it would be a good idea for her to learn how much work goes into taking care of pets. Plus hopefully this fantasy goes away.

Photobucket


Mind you, keeping a pet is not easy. Your pets are for life and I truly believe this! Pets are not to be bought on an impulse, just because they are cute and then when the novelty wears off, they are discarded or abandoned. In Singapore, this is happening so often and the shelters are always full. I told my friend sure, come over for tea as well, and I’ll bake some treats. I think her little girl had fun that afternoon and I know my two dogs did as well.

lemon meringue 2


Lemon Meringue Tartlets

Recipe for Tart Shell

For the Lemon Curd Filling
:

3/4 cup of sugar
1/2 cup of cornflour/cornstarch
1 1/2 cups of cold water 3 to 4 lemons, the juice and finely grated zest
3 egg yolks, beaten
50g unsalted butter

For the Meringue topping:

4 egg whites
1/2 cup of castor sugar

To make the Lemon Curd Filling:

1) Place the sugar, cornflour, cold water and finely grated zest in a medium-sized saucepan.

2) Over a gentle flame heat the curd, stirring continuously until it begins to thicken.

3) Add the beaten eggs and butter and continue to heat and stir through until very thick.

4) Remove from the heat and add the lemon juice, adding more to taste as desired. Pour the lemon curd into the cooled cooked pastry shell and top with the meringue.

To make the Meringue:

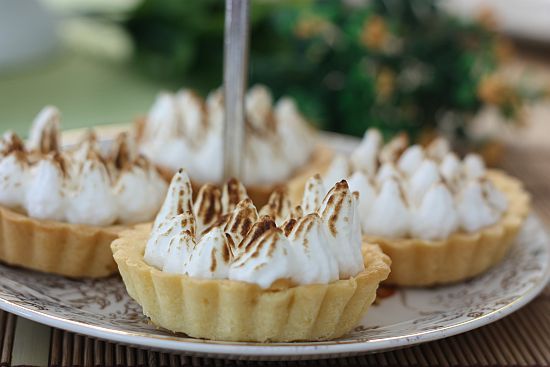
1) In a very clean and large bowl or the bowl of a stand mixer place the 4 egg whites. Whisk until soft peaks form and then gradually add in the sugar a little at a time until the meringue is thick, smooth and glossy and all of the sugar has dissolved.

2) Spoon or pipe the meringue over the lemon curd filled pie shell. Use a hand-held blow torch to crisp up the meringue. If you don't have one, place under an oven grill but watch carefully in case the meringue burns too quickly.

lemon meringue 1


lemon meringue 3

Monday, March 7, 2011

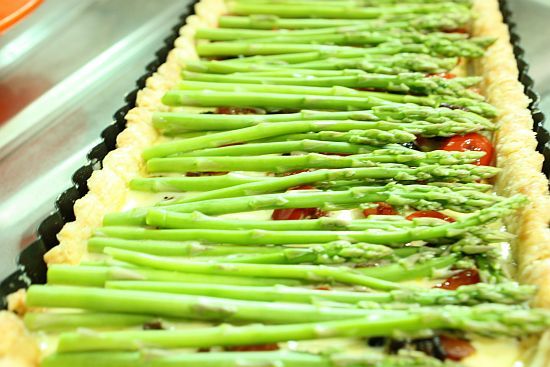
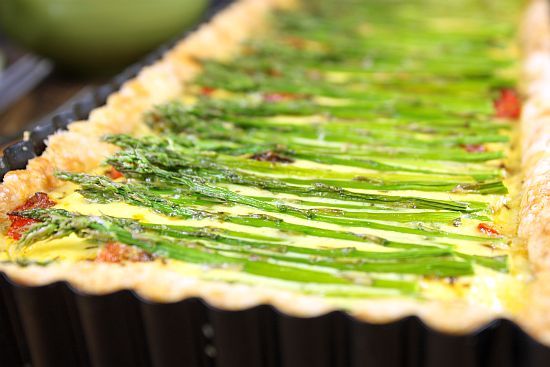
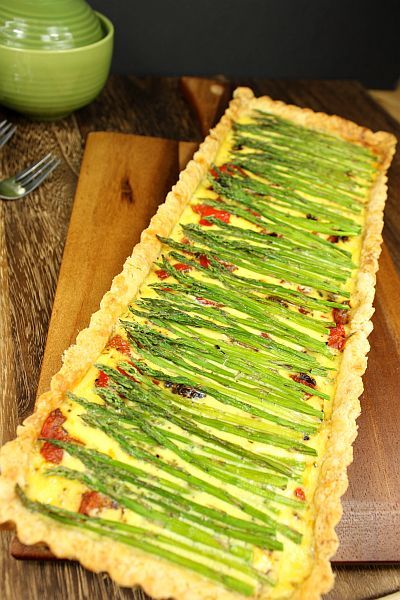
Asparagus and Sundried Tomato Tart

I love making tarts because I can split the process into two stages, which is what I usually do. I would make the tart shell mid week after work and throw the unbaked shell into my freezer. I would sometimes even forget that I even had the shell in the freezer. Those are the days when weekend becomes a real treat. I usually try to work with smaller shells as it is so much easier to put together and I often cut the recipes into half. In that way I could whip up a variety of tart flavours from one batch of dough.

I have tried a variety of doughs but I often tend to stick to two particular recipes which I find is most suited for sweet tarts and savoury tarts. This particular Pate Brisee recipe is one of them, absolutely flaky and buttery, and most suited for all sorts of savoury tarts.

Asparagus tart 1


asparagus tart 4


Asparagus and Sundried Tomato Tart Recipe adapted from "Savory & Sweet" by Michel Roux

Ingredients:

350g Pate Brisee
48 medium asparagus spears
Salt and Fresh ground pepper
5 sundried tomato, thinly sliced
1 medium egg
2 medium egg yolks
200ml heavy cream
Pinch of freshly grated nutmeg
1/4 tsp mixed dried herbs

Method:

1) Roll out the dough to 1/4" thickness and line a loose bottom rectangular tart pan measuring 14" x 4.5" x 1" deep. Chill for about 30 minutes.

2) Preheat oven to 190C. Prink the base of the tart shell and bake blind for about 20 minutes. Lower oven setting to 170C. Remove the beans and paper and return the tart to the oven for 10 minutes. Remove from oven and set aside.

3) Cook the asparagus in boiling salt water until just tender. Drain and refresh in cold water, and pat dry. Trim the asparagus to the width of the pan.

4) Slice the sundried tomatoes, do not use the oil. Line the tomatoes on the bottom of tart shell.

5) Mix the whole egg, egg yolks and cream together in a bowl with a whisk. Add in the mixed herb, nutmeg and season with salt and pepper. Pour two thirds of the egg mixture in the tart pan.

6) Lay the asparagus over the sundried tomatoes. Carefully spoon the remaining egg mixture over the asparagus. Immediately bake the tart for 30 minutes. Slide the tart onto a wire rack and leave to cool for 20 minutes before unmoulding.

asparagus tart 2


asparagus tart 3

Wednesday, November 3, 2010

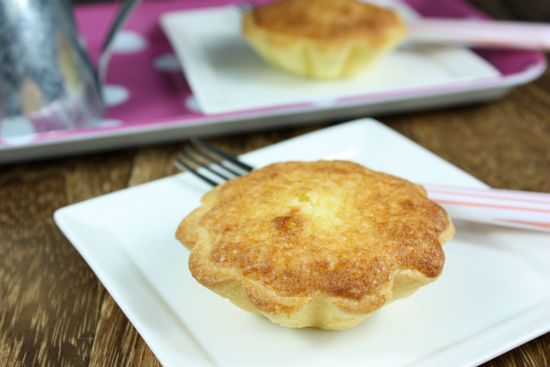
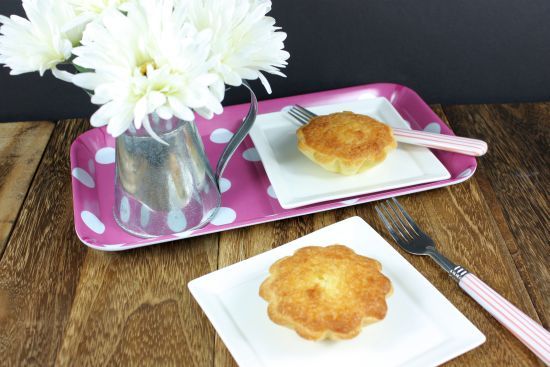
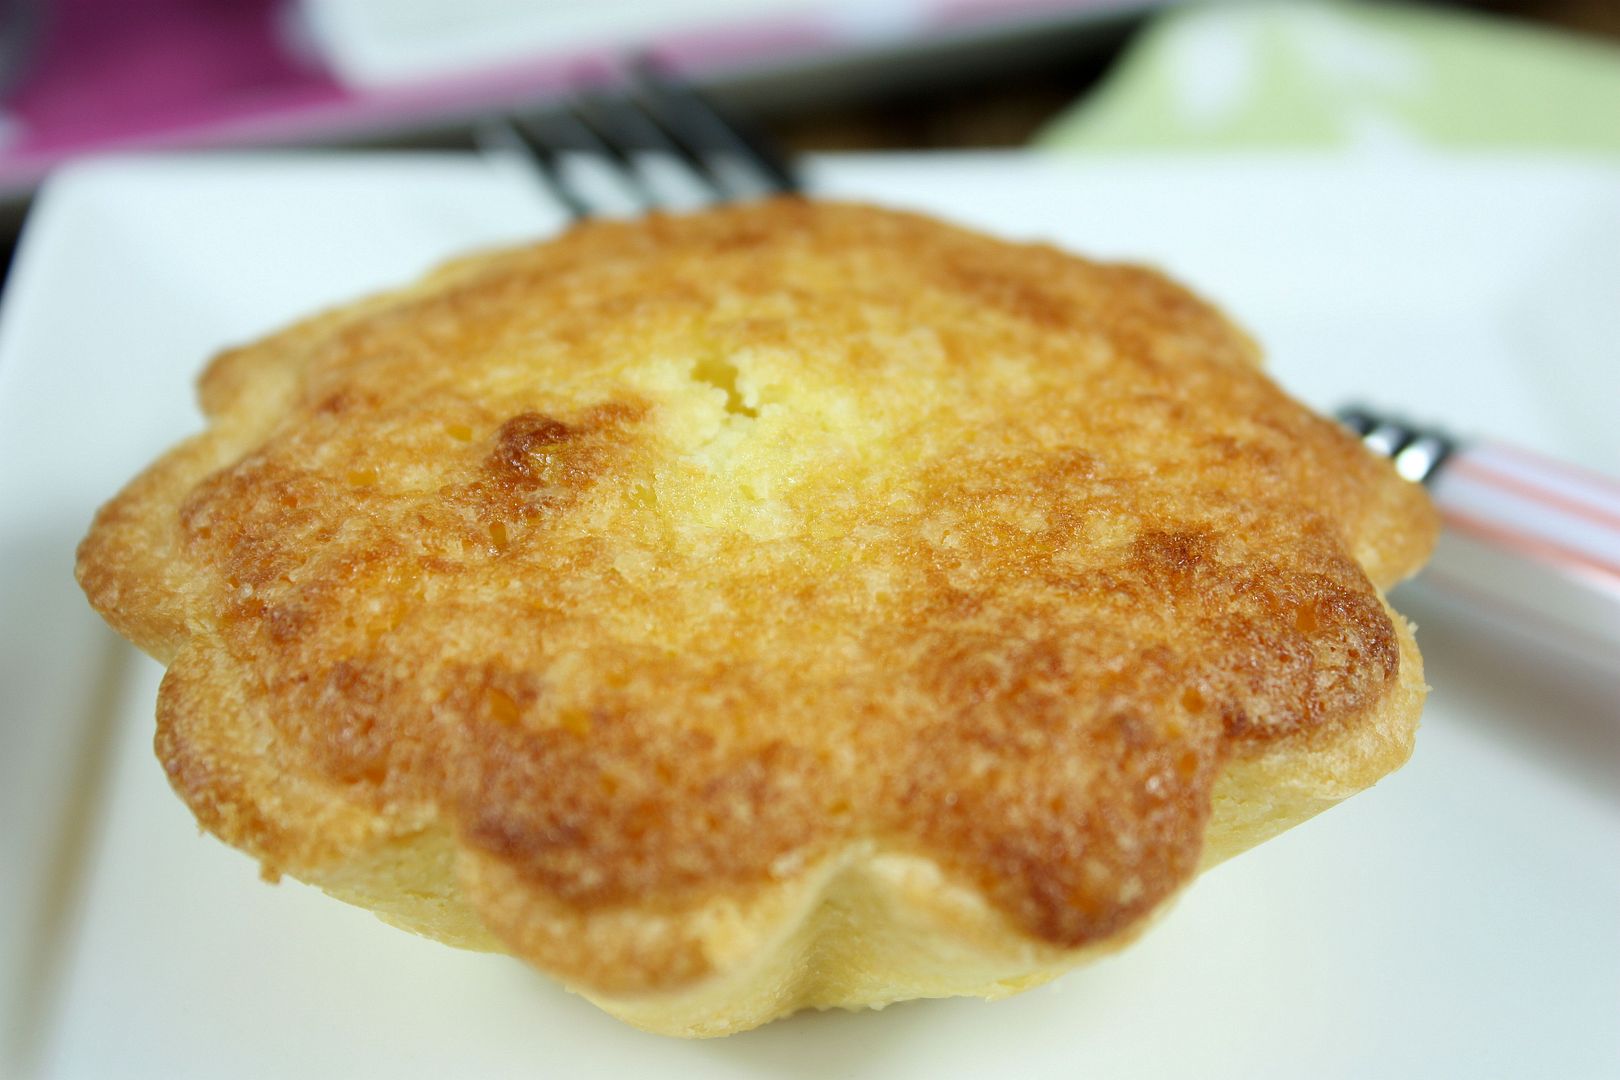
Coconut Tart

Coconut tarts have always been a favourite of mine since I was young. I would eat all the coconut filing first before finishing up the tart pastry. Call me weird alright but don’t you have a particular method of eating a favourite dish or dessert of yours that would seem odd by other people’s standards. I could name you more than a handful of my peculiar eating habits when young. For example, have you never had Milo drizzled with condensed milk. Then mix it all up on the back of a spoon to resemble a huge chocolate ball and literally licking it slowly like a lolly pop!

I don’t actually eat coconut tarts like I used to when young. As I grew up I started to eat the normal way but I still enjoy it as much I did years ago. This particular recipe is ever so easy to make. No mixer is required at all. In fact the tart shells can be made way beforehand and just thrown into the freezer. Whenever I feel like having a coconut tart, or any other tart, I would just take out a empty tart shell and proceed to fill it with my choice of filings. I have reduced the sugar content (as with all my other tried recipes) from the original recipe and find my adapted version to be most suited for my palate. The tarts are absolutely delicious on the day of baking but keeps well in the fridge for about to 5 days (I kid you not). Just pop them into a warm oven to crisp up the pastry a bit before consuming. Definitely a keepsake recipe in my books!

Coconut tart 2


Coconut Tart

Recipe for the Tart Shell.

For the Coconut Filling:
Makes about 7 tarts

Ingredients:

50g butter
50g sugar
1 egg
25g plain flour (sift)
25g desiccated coconut
1/2 tsp vanilla essence

Method:

1) Cream butter and sugar until light. Then add in the egg (one at a time, if you are doubling the recipe) and mix well. Add the vanilla essence and mix.

2) Add in sifted flour all at once. Mix until all flour has been incorporated into the batter. Then add in the desiccated coconut. Stir in to mix until incorporated only. No need to over-mix.

3) Scoop mixture into unbaked tart shells. Bake the tarts in a preheated oven at 180C for about 18 - 20 minutes (depending on the size of your tart).

Coconut tart 1


Coconut tart 3
Related Posts with Thumbnails