Tuesday, July 16, 2013

Macarons in Singapore: Adding an Asian Edge to a French Confection (Guest Post by Mac Woo of Obolo)

Macarons took the world by storm and it wasn't too long before you could find these delightful French macarons in Singapore. These colorful little confectioneries are a treat to both the eyes and the taste-buds and it's no wonder that they have become the favorites of many Singaporeans.
Not everyone has the patience required to consistently turn out perfectly formed well baked macaron. Many have tried, and given up because of the complexity involved. It is probably the biggest reason why people prefer to buy these confections as opposed to making it themselves. It's also a delicate art to adapt a French delicacy to suit Asian taste buds. The French like their macarons as sweet as they can get. Asians on the other hand prefer an experience that caters to all their taste-buds rather than just their sweet tooth.
It's interesting to see how the macaron has developed in Singapore. Local pastry chefs have realized that traditional macarons may be too sweet for the discerning Singaporean palate and have quickly begun to incorporate local flavors into the macaron to make them more palatable. If you would like to try your hand at making these French delicacies, below is a simple recipe you can try at home.

French Macaron
Ingredients:
3 whites of medium sized eggs
1/4 cup granulated white sugar
1 2/3 cups castor or powdered sugar
1 cup almond meal (finely ground almonds)

Directions:

1)  Line a silicone mat or a baking sheet with butter paper. For those first timers in baking macarons, draw circles of desired width (usually 1 1/2 inches diameter) onto the butter paper to guide you while you are piping the batter).

2) Beat the egg whites in a large bowl with a stand mixer (using a whisk attachment). You can also beat the whites with a hand held beater, but this will require patience as it will take a while. Beat until whites look foamy and form soft peaks. Slowly add in granulated sugar, a tablespoon at a time and continue to beat until the mixture is glossy and fluffy, and holds soft peaks.

3) In another, separate bowl, sift the powdered sugar with the almond meal. With a spatula, begin to fold the almond mixture into the egg white mixture. Do not beat but use about 30 strokes to blend the almond mixture with the egg mixture.

4) Place a plastic bag or a piping bag into a cup. Spoon a small amount of the prepared into this. If using a plastic bag, cut off a small corner. Using this, pipe disks of the batter onto the butter paper you have prepared. The batter should flatten immediately. If it holds a peak, fold the batter gently with a few more strokes and then try again.

5) Continue to pipe the disks onto the butter paper, making sure you leave enough space in between the disks. Let the piped disks stand out of the oven, at room temperature. Once they have formed a skin on top, they will be ready to be baked. It should take about 1 hour to form a hard skin, depending on the climate.

6) Preheat oven to 140 degrees Celsius or 285 degrees Fahrenheit.

7) Now bake disks until set. Make sure they don't brown. It should take around 10 minutes; let the macarons cool completely before assembling.

8) You can use different fillings for the macarons, including jam, ganache, and buttercream.

9) For colored or flavored macarons, use gel food colors or flavors, and incorporate when folding in almond meal. Make sure you don't use too much or it will upset the balance of ingredients and your macarons will not bake well.

With flavors like Elderflower Blossom, Rose and Durian, it's not difficult to imagine the delight each bite brings. The introduction of macarons in Asia has taken the taste to a whole new level and across Singapore and the rest of Asia, pastry chefs are busy experimenting with local flavours to see which will work. This means that new flavors are regularly being added to recipes and menus, much to the surprise and delight of macaron aficionados.

You can choose from Obolo’s wide variety of macaron flavours for your palette-- Obolo macarons fulfills every taste craving imaginable. From their basic Rose, Raspberry, Pistache, Cassis, Ruby, Sakura, and Fraise, to flavours that chocolate lovers will enjoy like the Bittersweet Chocolate, Salted Caramel Chocolate, Hazelnut Chocolate, Milk Choc Macadamia and Earl Grey Milk Chocolate. For their 2012/2013 collection, Obolo offered Singapore's 1st ever alcoholic macarons with 4 different flavours: The Aged Rum Vanille, Mocha Kahlua, Choc Whiskey, and Orange Cognac. Other flavours are Mango Passion and Champagne.

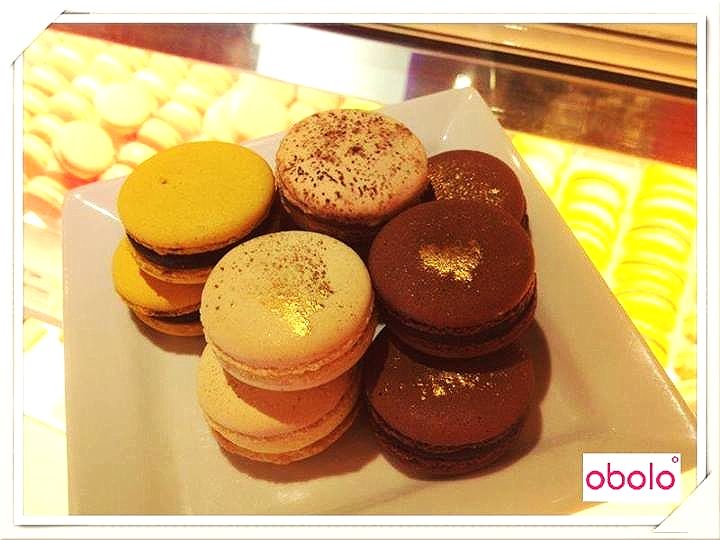
obolo 1 photo ObolosMacarons2_zpsce3a6b07.jpg
Macaron flavours from front to back: Rose, Mango Passion, Pistachio, Cassis, Ruby & Bittersweet Chocolate

obolo 2 photo ObolosMacarons3_zpsf97f821d.jpg
Macaron flavours from top left: Mocha Kahlua, Aged Rum Vanille, Chocolate Whisky, and Champagne

Many wrote macarons off as a fad but they seem to be growing and thriving. The Singaporeans love for beauty and taste have made these little confections indispensable at high - end parties , birthdays and even weddings. The fact that pastry chefs are making an effort to blend local flavours into this French delight is a clear indication that the macaron is here to stay.

_______________________________________

Author’s Bio:
Mac Woo is the chef-owner of Obolo Bakeshop: one of Singapore’s leading patisseries cafe, handcrafting its award-winning cheesecakes and macarons in Singapore..  Along with June Lee; these two aspiring architects turned self-taught pastry chefs, started this 100% home-grown brand in 2004; infusing their design training into creating exciting and innovative flavors.


Sunday, June 16, 2013

Homemade Thin Crust Pizza

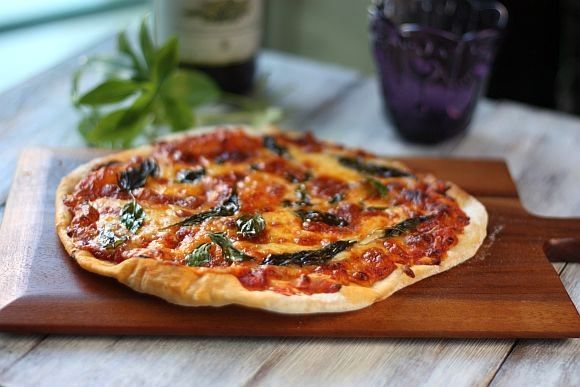
This is another great pizza recipe to put together especially if you are planning a pizza party.  It's quick and easy and any left over dough can be stored in the fridge for up to 3 days.  Just imagine a pizza party where your guest can put together their own designer pizza ...

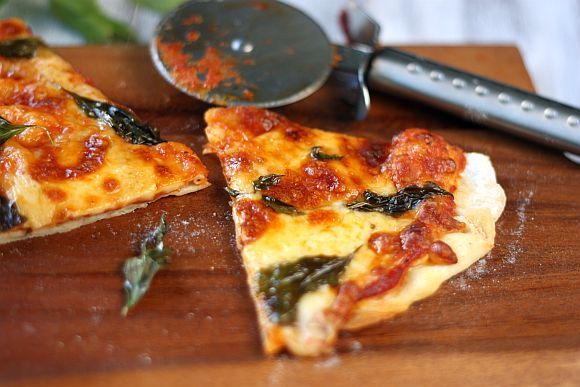
pizza1-1 photo pizza1-1.jpg

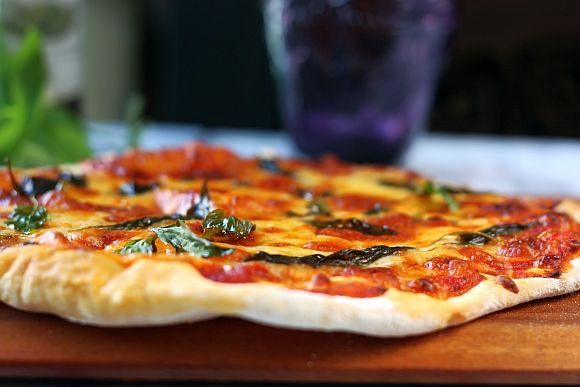
pizza4-1 photo pizza4-1.jpg

Homemade Thin Crust Pizza
Makes Two 10" Pizzas

For the dough:

3/4 cups lukewarm water
1 teaspoon active-dry or instant yeast
2 cups unbleached all-purpose flour
1 1/2 teaspoons salt

Method:

1)  Preheat the oven to 450°F or as hot as it will go and let it heat for about 20 mins before making the pizza. If you have a pizza stone, put it in the lower-middle part of the oven now.  If you don't use use a baking sheet pan, turned upside down and place into the oven.

2)  Combine the water and yeast in a mixing bowl, and stir to dissolve the yeast. The mixture should look like thin miso soup. Add the flour and salt to the bowl and mix until you've formed a sticky.

3) Turn the dough out onto a clean work surface along with any loose flour still in the bowl.  until all the flour is incorporated, and the dough is smooth and elastic, about 5 minutes. The dough should still feel moist and slightly tacky. If it's sticking to your hands and counter-top like bubble gum, work in more flour one tablespoon at a time until it is smooth.

4)  Leave the dough to rise until doubled in bulk (about an hour or so). After rising, you can use the dough or refrigerate it for up to three days.

5) Cover the dough with the upside-down mixing bowl or a clean kitchen towel while you prepare the pizza toppings.

6) When ready to make the pizza, tear off two pieces of parchment paper roughly 12-inches wide. Divide the dough in two with a bench scraper. Working with one piece of the dough at a time, form it into a large disk with your hands and lay it on the parchment paper.

7) Work from the middle of the dough outwards, using the heel of your hand to gently press and stretch the dough until it's about 1/4 of an inch thick or less. For an extra-thin crust, roll it with a rolling pin. If the dough starts to shrink back, let it rest for five minutes and then continue rolling.

8) The dough will stick to the parchment paper, making it easier for you to roll out, and the pizza is baked while still on the parchment. As it cooks, the dough will release from the parchment, and you can slide the paper out midway through cooking.

9)  Spoon a few tablespoons of sauce into the center of the pizza and use the back of a spoon to spread it out to the edges. Pile on all of your toppings.

10) Using a bread peel or the bottom of a large removable cake tin, slide your pizza (still on the parchment) onto the baking stone in the oven or onto the pre-heated baking sheet pan.

11) Bake for about 5 minutes and then rotate the pizza, removing the parchment from under the pizza as you do so. Bake for another 3 to 5 minutes until the crust is golden-brown and the cheese looks toasty.

12) Remove the pizza from oven and let it cool on a wire rack. Repeat with shaping, topping, and baking second pizza.

13) Let both pizzas cool for about five minutes before slicing and serving.

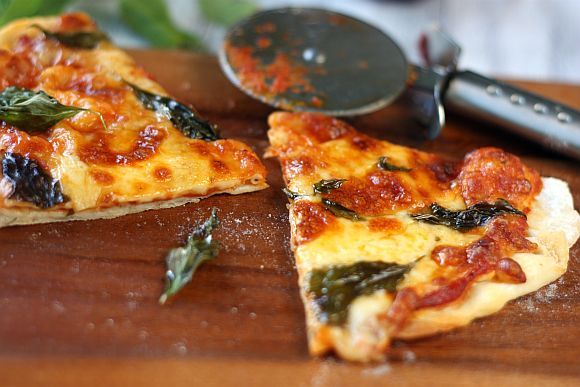
pizza2-1 photo pizza2-1.jpg

pizza3-1 photo pizza3-1.jpg

Thursday, June 6, 2013

Cheddar Bay Biscuits

I came across this recipe and have to share it around! They do say that good things must be shared around ... right?

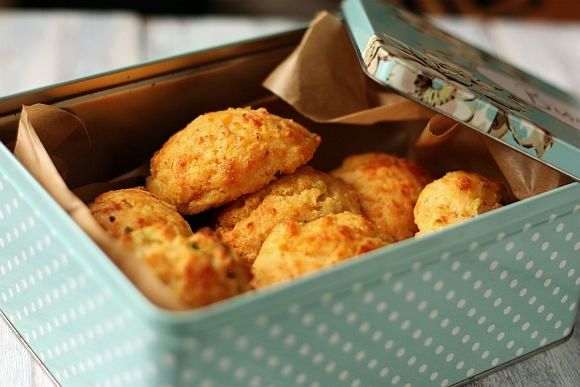
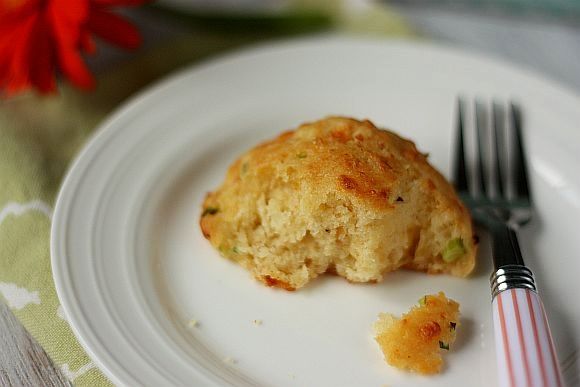
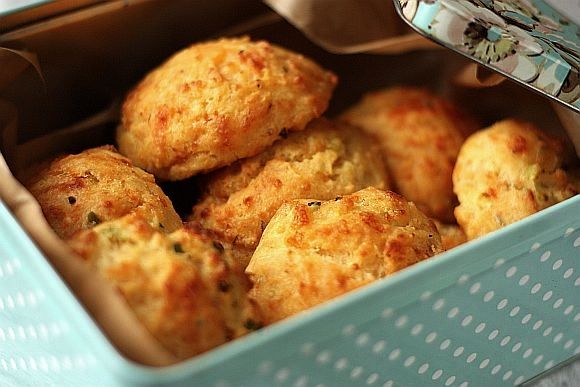
These biscuits are absolutely, absolutely delicious especially if you have some spare cheddar cheese lying around in your refrigerator.  I would not say that the texture is that of a biscuit ... more like a muffin scone.  They whip up in no time at all so you can even make these on a lazy Sunday morning and have it with your breakfast.

Cheesy bix 1 photo cheesybix1_zpsf23f5ab6.jpg

Cheesy bix 3 photo cheesybix3_zpseeef39f1.jpg

Recipe Adapted from Brown Eyed Baker
Makes about 10 - 12 biscuits
Ingredients:
2 cups all-purpose flour
2 teaspoons baking powder
½ teaspoon baking soda
1 teaspoon granulated sugar
¾ teaspoon salt
1 tsp grated fresh garlic (can be omitted or replaced with 1/2 tsp garlic powder (or 1/2 tsp onion powder)
 ¼ teaspoon cayenne pepper
1 cup shredded mix cheddar cheese
3 Tablespoon grated parmesan
1 cup buttermilk, cold
½ cup unsalted butter, melted and cooled for 5 minutes

For the Topping:

2 tablespoons unsalted butter, melted, divided
1 teaspoon minced fresh thyme
Directions:
1)  Preheat oven to 475 degrees F. Line a baking sheet with parchment paper or a non-stick baking mat and set aside.

2)  In a large bowl, whisk together the flour, baking powder, baking soda, sugar, salt, grated garlic and cayenne. Stir in the cheese and set aside.

3)  In a medium bowl, stir together the buttermilk and melted butter until the butter forms small clumps.

4)   Add the buttermilk mixture to the flour mixture and mix gently with a rubber spatula just until a dough forms and no dry ingredients remain. Use a greased ¼-cup measuring cup to scoop out portions of dough. Place on the prepared baking sheet, leaving a little more than an inch between biscuits.

5) Bake until the biscuits are golden brown, about 12 minutes. While the biscuits are in the oven, stir together the 2 tablespoons melted butter and thyme.

6) Remove the biscuits from the oven and immediately brush with the topping mixture. Allow to cool for at least 5 minutes before serving.

7) Leftovers can be stored in an airtight container or zip-top back at room temperature for up to 3 days.

Cheesy bix 5 photo cheesybix5_zps247b1c9f.jpg

Cheesy bix 6 photo cheesybix6_zps92ad895a.jpg

Cheesy bix 2 photo cheesybix2_zps31c09e0c.jpg

Thursday, May 23, 2013

Yuzu Macarons with Orange Buttercream and Chocolate Ganache

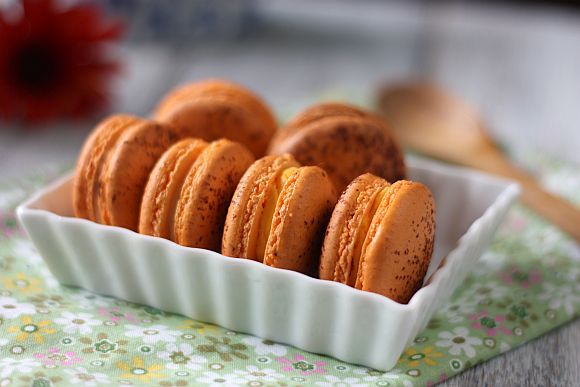
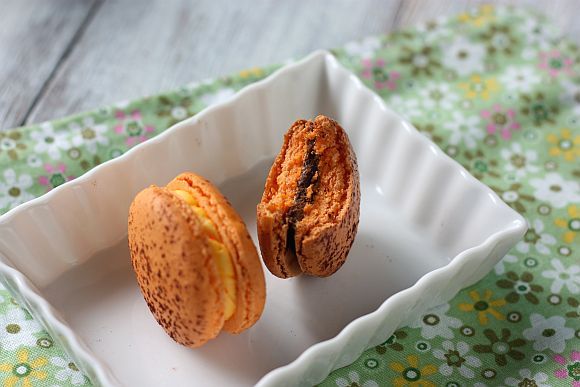
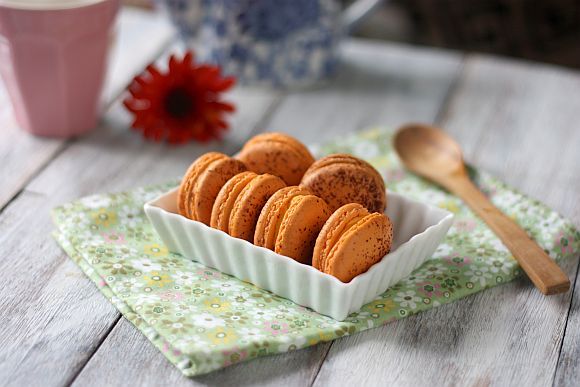
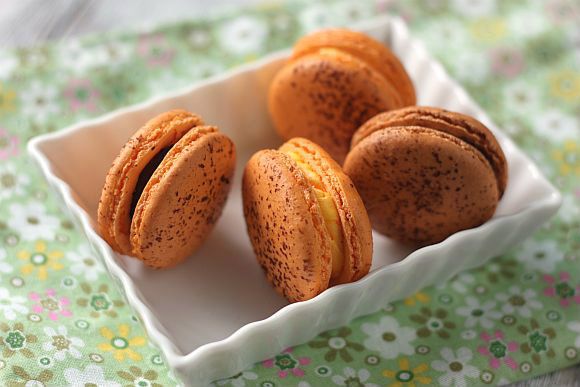
It has been a while since I had made macarons and in fact this is not even a recent baking adventure.  I had made this early this year but had not managed to put up the post until now.  These are yuzu macarons and the flavours were really refreshing.

yuzu mac 2 photo yuzumac2.jpg


yuzu mac 4 photo yuzumac4.jpg

Yuzu Macarons with Orange Buttercream
and Chocolate Ganache
Makes about 30 filled macarons
Macaron Template

For the Macaron Batter

Ingredients:

98g almond powder or almond meal
98g icing sugar
67g egg whites (aged 2 - 3 days in the refrigerator)
50g caster sugar
1/2 tsp cream of tartar
1 1/2 tsp egg white powder (dehydrated egg white)
1/2 tsp dried yuzu fruit powder
Food colouring

Method:

1) Combine the icing sugar, yuzu powder and almond flour in a food processor. Pulse until fine and powdery.

2) Remove and then sift into a dry bowl. Set aside.

3) Add the egg white powder to the caster sugar and stir with a spoon until mixed through.

4) Place egg whites into another clean bowl. Beat with mixer on medium. until frothy. Then add in the cream of tartar and beat until it is mixed - about one minute. Then slowly add in the sugar with egg white powder. Switch to high and continue beating until medium peaks.

5) Then add in the food colouring and continue to beat until stiff peaks.

6) Add 1/3 of the almond flour mixture into the meringue and fold to combine. Then add in the rest. Don’t overfold, but fully incorporate your ingredients. Spoon the mixture into a pastry bag fitted with a plain half-inch tip, pipe 1.5 cm rounds onto baking sheets lined with parchment paper.

7) Once you have finishing piping all the macarons lift each baking sheet with both hands and then bang it down on the counter (you need to get the air out of the batter).

8) Rest the macarons for an hour to develop a skin on the surface.

9) Preheat oven to 150°C. Bake for about 15 minutes (baking time can be varied, from 12-15 depending on your oven) or until firm to the touch. Mid way through baking, rotate the pans.

10) Remove from oven and cool on trays. Slide a knife under each macaroon to release from paper. Store in an airtight container for up to 1 week or until ready to assemble. Once assembled put the macarons into the refrigerator. Best eaten a day later so that the flavours will develop.

Chocolate Ganache:

3/4 cup heavy cream
1 cup bittersweet chocolate (65%)

In a heavy saucepan set over medium heat, bring the heavy cream to a boil. Remove from the stove and add the chocolate to it. Let stand 2 minutes and then stir until fully combined. Let cool in the fridge until firm enough to put in a small piping bag.

Orange Buttercream:

1 cup (2 sticks) unsalted butter, softened
3 cups powdered sugar
1 tsp orange extract
1-2 tbsp milk, if necessary
Pinch of salt
1-2 drops of orange food gel

In a large bowl, cream together butter, salt and powdered sugar. Add orange extract. Stir in milk, one tablespoon at a time, until desired consistency is reached. Stir in orange food gel. Put in the fridge to set slightly before putting into a small piping bag.


yuzu mac 4 photo yuzumac4.jpg


yuzumac3 photo yuzumac3.jpg

Wednesday, May 8, 2013

Ultimate Sticky Pork Ribs

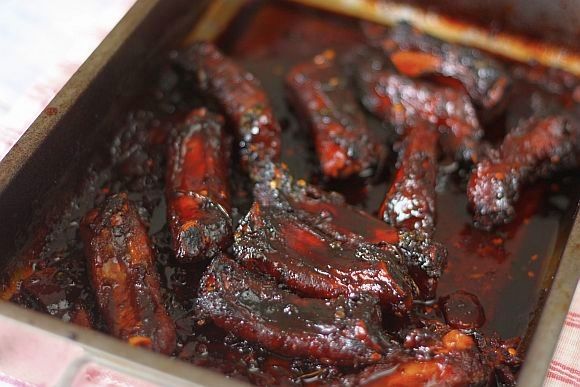
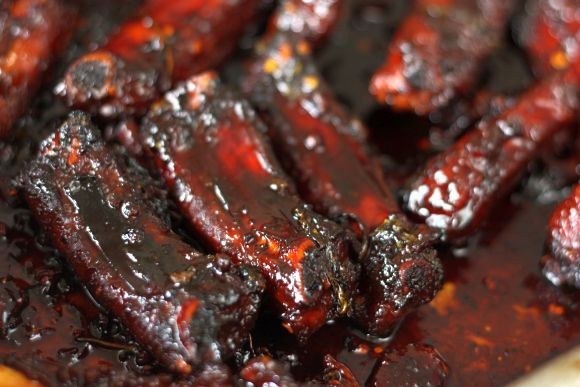
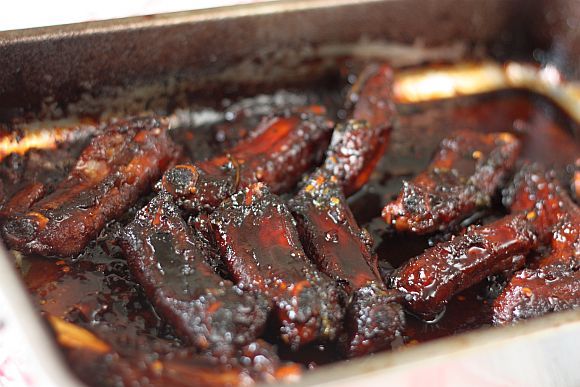
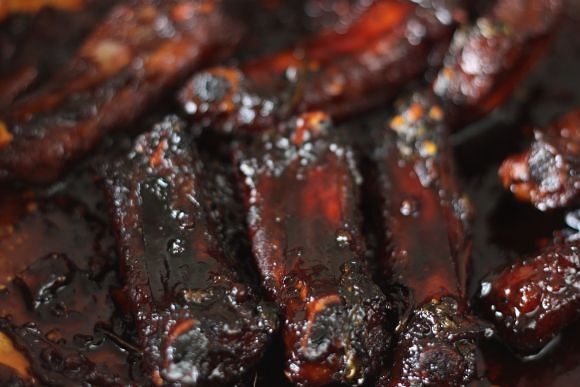
The secret to this dish is to get the ribs really well caramelised before you add any of the other ingredients. As they braise in the oven, all that colour will turn into the most amazing flavour. The glaze is packed full of vibrant, citrusy flavours, with the sweetness of the honey counteracting the spices.  It is the ultimate sticky ribs for me! 


 photo Ramsayribs2_zpsc995f836.jpg


 photo Ramsayribs4_zpsd5116e24.jpg


Sticky Pork Ribs
Recipe Adapted from "Gordon Ramsay" Ultimate Cookery Course"
Serves 6 - 8

Ingredients:

2kg pork ribs, separated
sea salt and freshly ground pepper, to taste
vegetable oil, for frying
6-8 garlic cloves, peeled and sliced
10cm piece ginger, peeled and sliced
2-4 tsp dried chilli flakes, to taste
8 whole star anise
2 tsp Sichuan peppercorns
8 tbsp honey
280ml light soy sauce
4-5 tbsp rice vinegar
600ml Shaoxing rice wine or medium-dry sherry
10 spring onions, trimmed and sliced
800ml chicken stock

Method:

1) Preheat oven to 180°C.

2) Season the ribs with salt and pepper, pushing the seasoning into the meat.

3) Heat a roasting tray on the stove top with a little olive oil and brown the ribs for 5-10 minutes until they are coloured on all sides. Add the garlic, ginger, chilli flakes, star anise, Sichuan peppercorns and honey and continue to cook over the heat for 2 minutes until the honey begins to caramelise.

4) Add the soy sauce, rice vinegar and Shaoxing wine and bring to the boil, simmering for 1 minute.

5) Taste and adjust the flavours, adding a little extra vinegar if necessary. Add the spring onions and stock and bring to the boil.

6) Place in the preheated oven and cook for 1 hour until tender, turning the ribs halfway through the cooking time.

7) Remove the pan from the oven and place back on the stove top. Heat the marinade and reduce for 8-10 minutes until the sauce is thick and syrupy. Turn the ribs in the sauce to coat them well, then serve.

 photo Ramsayribs1_zps9fcf2766.jpg


 photo Ramsayribs3_zpsa4096915.jpg

Wednesday, April 24, 2013

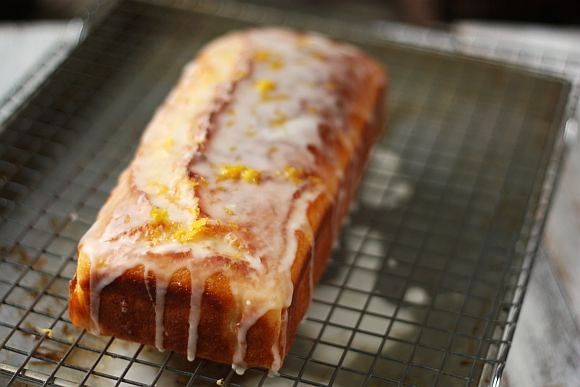
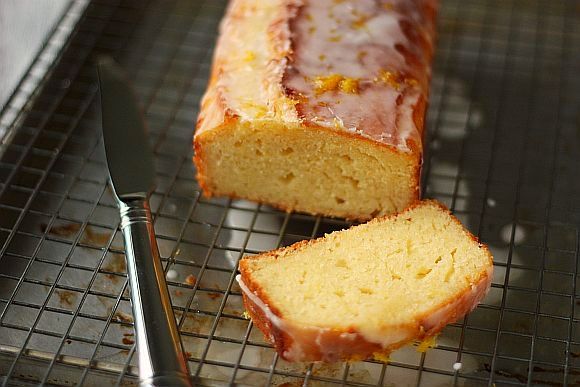
Lemon Yogurt Cake

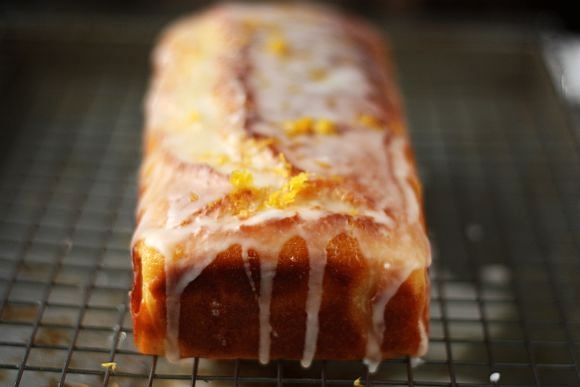
I recently bought some cook books from The Book Depository and one of them was Ina Garten's "Barefoot Contessa at Home".  In it was this absolutely delicious looking lemon cake which I had to try over the weekend.

I am so totally for any desserts which has lemon in it ... all that citrus makes me feel less guilty if I have more than one!  If you have not tried this recipe as yet, I so encourage you to do so.  It cannot be any easier - two bowls and you are done - forgot about even taking out your handmixer.

Lemon yoghurt 2 photo lemonyoghurt2_zpsdcc388a4.jpg

Lemon yoghurt 1 photo lemonyoghurt1_zps1d10ffd2.jpg


Lemon Yogurt Cake
Recipe Adapted from "Barefoot Contessa at Home"
Yields One Loaf

Ingredients:

1 1/2 cups all-purpose flour
2 teaspoons baking powder
1/2 teaspoon salt
1 cup low-fat plain whole-milk yogurt
3/4 cup + 1/3 cups sugar, separated
3 extra-large eggs
2 teaspoons grated lemon zest (2 lemons)
1/2 teaspoon pure vanilla extract
1/2 cup vegetable oil
1/3 cup freshly squeezed lemon juice

For the glaze:

1 cup confectioners' sugar
2 tablespoons freshly squeezed lemon juice

Method:

1) Preheat the oven to 350 degrees F. Grease an 8 1/2 by 4 1/4 by 2 1/2-inch loaf pan. Line the bottom with parchment paper. Grease and flour the pan.

2) Sift together the flour, baking powder, and salt into 1 bowl.

3) In another bowl, whisk together the yogurt, 3/4 cup sugar, the eggs, lemon zest, vegetable oil and vanilla.

4) Slowly whisk the dry ingredients into the wet ingredients. Make sure all ingredients are incorporated - however do not over-mix.

5) Pour the batter into the prepared pan and bake for about 40 - 50 minutes, or until a cake tester placed in the center of the loaf comes out clean.

6) Meanwhile, cook the 1/3 cup lemon juice and remaining 1/3 cup sugar in a small pan until the sugar dissolves and the mixture is clear. Set aside.

7) When the cake is done, allow it to cool in the pan for 10 minutes. Carefully place on a baking rack over a sheet pan. While the cake is still warm, pour the lemon-sugar mixture over the cake and allow it to soak in. Cool.

8) For the glaze, combine the confectioners' sugar and lemon juice and pour over the cake.


Lemon yoghurt 4 photo lemonyoghurt4_zps08cacb8c.jpg


Lemon yoghurt 3 photo lemonyoghurt3_zps2a62794f.jpg

Wednesday, March 20, 2013

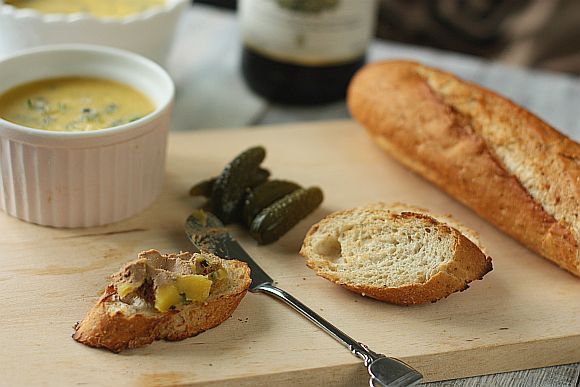
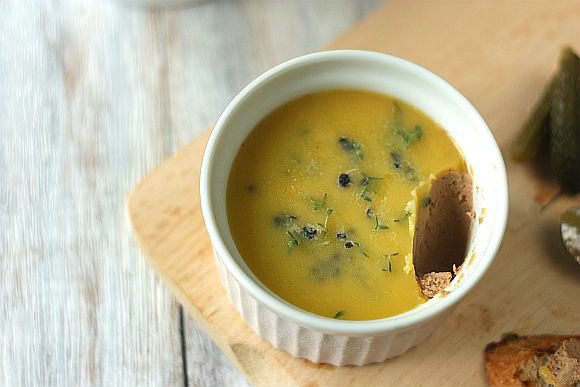
Duck Liver & Thyme Pâté

This is my very first pâté and I used duck livers instead of chicken.  It's probably not a dish for you if you don't like eating livers of any kind. 

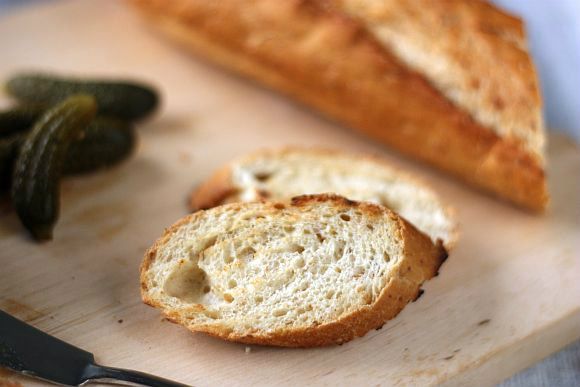
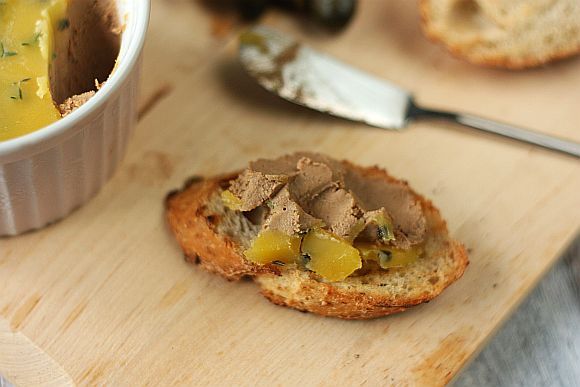
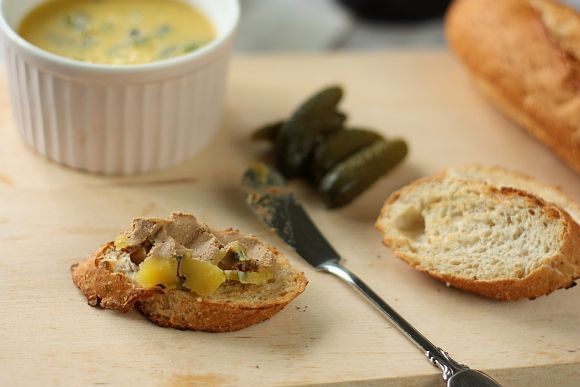
Chicken and duck livers are really inexpensive and this makes an impressive starter for a western sit down dinner.  Serve this with baguette or melba toast with a sides of cornichons. 

Duck liver 1 photo Duckliver1.jpg


Duckliver3 photo Duckliver3.jpg


Duckliver5 photo Duckliver5.jpg


Duck Liver & Thyme Pâté
Recipe Adapted from Antony Worrall Thompson "Saturday Night Kitchen"
Serves 6

Ingredients:

175g/6oz unsalted butter, softened
450g/1lb duck livers, trimmed and cleaned
2 shallots, finely chopped
2 cloves garlic, finely chopped
½ tsp freshly ground black pepper
2 tbsp brandy or port 
55g/2oz clarified butter, melted
1 tsp of fresh thyme leaves

Method:

1)  Heat 15g/½oz of the butter in a frying pan until foaming.

2) Add half the livers and fry quickly on all sides until golden, but still pink in the middle, about 4-5 minutes.

3) Repeat with a second batch of butter and livers.

4) Place the livers and juices in a food processor.

5) In the same pan heat another 15g/½oz butter, add the shallot, garlic and cook over a moderate heat until the shallot is soft but not coloured.

6)  Add the brandy and freshly ground black pepper, and scrape the bottom of the pan to release any coagulated juices.

7)  Place everything in the food processor, including the remaining unsalted butter. Blend until smooth.

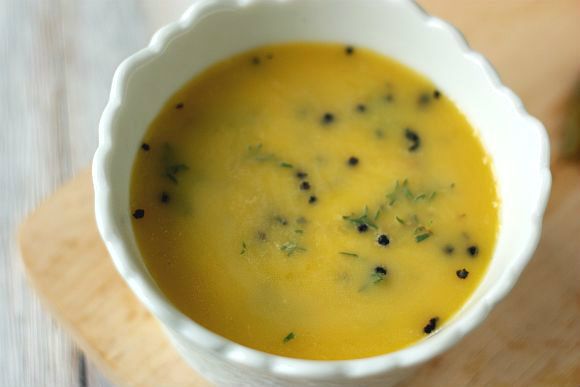
8)  Pass the mixture through a fine sieve and put in a ramekin. Pour the clarified butter over the mixture, give another sprinkle of freshly ground black pepper and top with thyme.  Cover with the cling film, cool then refrigerate.

9) To server, stand in room temperature for about 15 minutes.  Serve with crusty toasted baguette and cornichons.


Duck liver 4 photo Duckliver4.jpg


Duck liver 2 photo Duckliver2.jpg


Duckliver6 photo Duckliver6.jpg

Related Posts with Thumbnails