You could say I am an avid fan of the Food Channel on my local cable television. There are so many programs I currently follow that it would be simply impossible to list down. On some evenings, my television set would be just tuned to only one channel and nothing else. I'm not sure if this could be viewed as a compulsive, obsessive behaviour - you tell me!
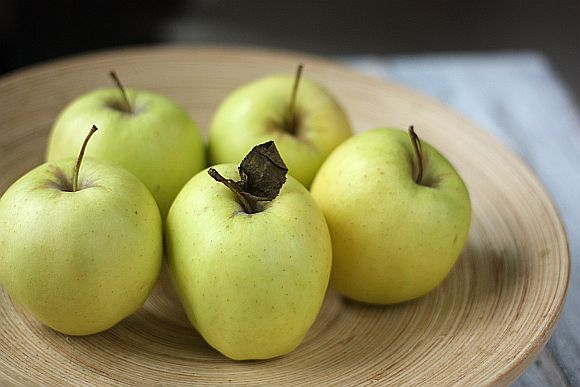
Another compulsion of mine is to buy groceries first and then try to source for a recipe around what I had purchased. Would not a sane person do the opposite? Guess what I did it again two weekends ago. I purchased golden delicious apples and had to source for a recipe to consume them. This is where the Food Channel comes in useful. I've made a couple of apple tarts before and have posted them as well. So I didn't want to repeat something that I had already tried out and tested.
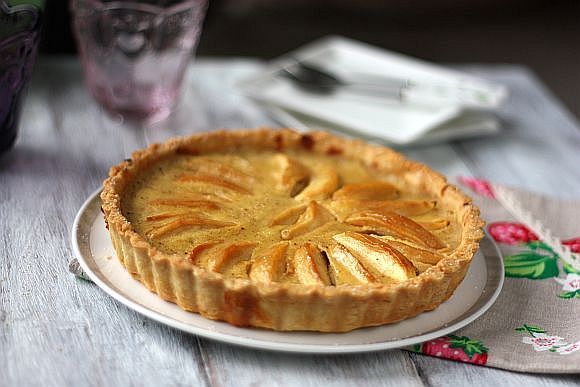
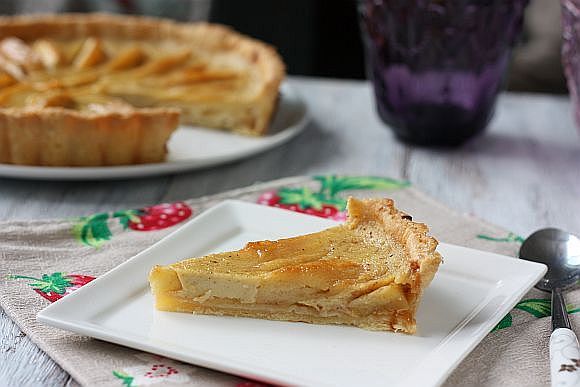
Timely again when I watched Raymond Blanc's "Kitchen Secrets" as he was making a Apple Custard Tart. So it is this particular recipe that I am now posting. The tart dough is new as well but I must say that the pastry is extremely good. It is flaky but at the same time a sturdy one. Some tart pastry tends to be flaky but falls apart once you cut through it. Well this doesn't! In fact it held up very well even one day after it was baked. The custard filing is extremely delicious and moist. However because as it is a custard, it is best consumed on the same day. I served it plain but I am sure it would have been delicious accompanied by a good vanilla ice-cream or creme fresh. Definitely a keeper recipe in my opinion.
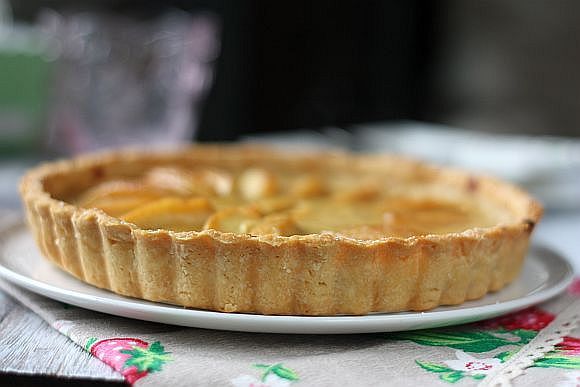
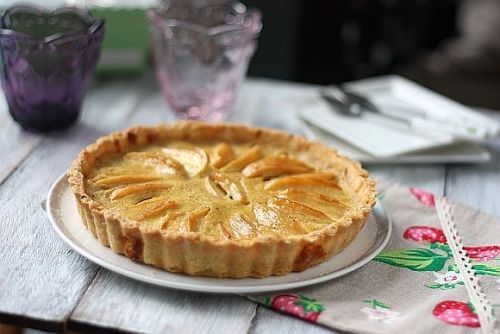
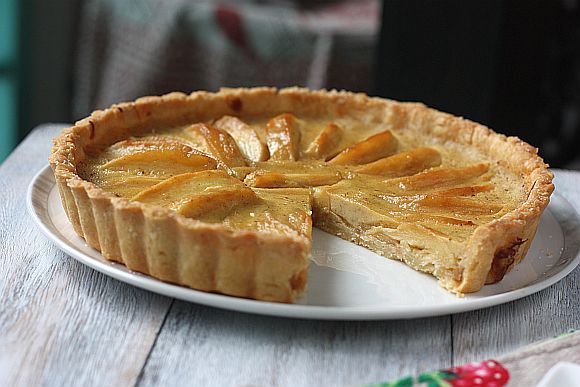
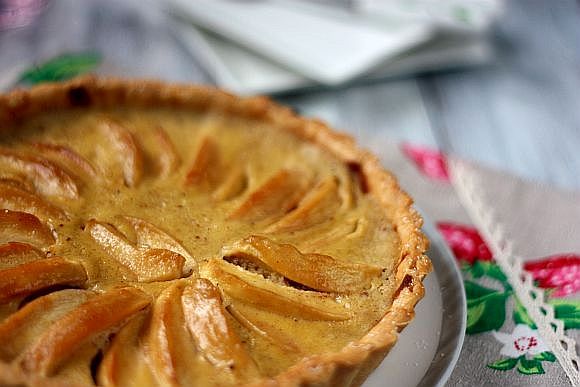 Apple Tart "Maman Blanc"
Recipe Adapted from Raymond Blanc's "Kitchen Secrets"
For the Pastry:
250g/9oz plain flour
pinch sea salt
125g/4oz unsalted butter, diced, at room temperature
1 tsp cold water
1 medium sized egg
For Glazing the Apples:
15g unsalted butter
1 tsp lemon juice
15g sugar
For the Custard Filling:
35g caster sugar
1/2 Tbsp brandy
1/2 tsp mixed spice
1/2 tsp nutmeg
1/2 tsp cinnamon powder
3 golden delicious apples (or cooking apple), peeled, cores removed, each cut into 10 segments
100ml double or thickened cream
1 medium egg
Method:
1) For the pastry, pulse together the flour, butter and salt in a food processor until you reach a sandy texture. Add the egg, water and pulse again. If you over mix the dough at this stage it will lose its flakiness.
2) Transfer the dough onto a lightly floured work surface and knead with the palms of your hands for 30 seconds, or until the dough is smooth and well combined.
3) With the palm of your hand flatten the dough slightly to 1cm/½in thickness, then sandwich it between two large sheets of cling film. Chill in the fridge for 30 minutes.
4) Preheat the oven to 220C/440F/Gas 7. Place a baking tray into the oven to preheat.
5) Roll the chilled dough, still sandwiched in cling film, to a 2mm thickness. Place a 22cm/9in diameter, 2cm/¾in deep tart ring on a greaseproof lined wooden peel or baking tray. Remove the top layer of clingfilm and carefully pick up the dough, place it into the tart ring with the second layer of clingfilm facing up. Lift and tuck the dough into the edges of the ring and discard the clingfilm. By tucking in the base you will minimise the shrinking of the dough during cooking. Trim off any excess with a rolling pin.
6) Using your index finger and thumb, pinch and press the dough until it's 2mm above the tart ring all around the edge. With a fork, prick the bottom of the tart. Chill in the fridge for 20 minutes.
7) Meanwhile, for the filling, heat the butter, lemon juice and 15g of the sugar in a small saucepan until the butter has melted and the sugar has dissolved. Remove from the heat and stir in the brandy. Set aside.
8) When the tart case has chilled, arrange the apple segments in concentric circles, overlapping the apple slices as you go. Brush the apples all over with the brandy/butter mixture. Slide the tart ring onto the pre-heated baking tray and bake for 10 minutes.
9) Reduce the oven temperature to 200C/400F/Gas 6, then continue to cook for a further 20 minutes, until the pastry is pale golden-brown and the apples have caramelised.
10) Whisk together the cream, egg, spices and the remaining 35g caster sugar until well combined. When the pastry is pale golden-brown and the apples have caramelised, pour the custard mixture into the tart, bake for a further 10 minutes or until the filling mixture has just set.
11) To serve, remove the tart from the oven and set aside for 1 hour to cool slightly, then carefully remove the tart ring. Dust all over with icing sugar. Serve immediately.