Wednesday, March 20, 2013

Duck Liver & Thyme Pâté

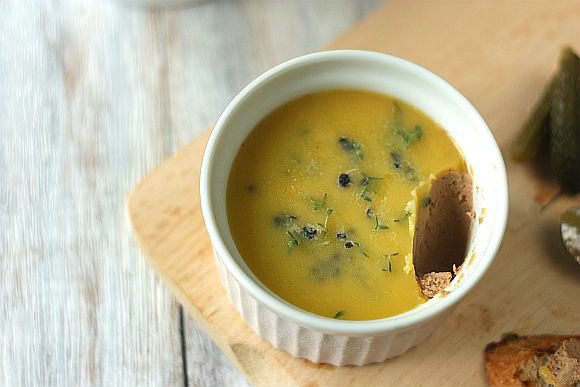
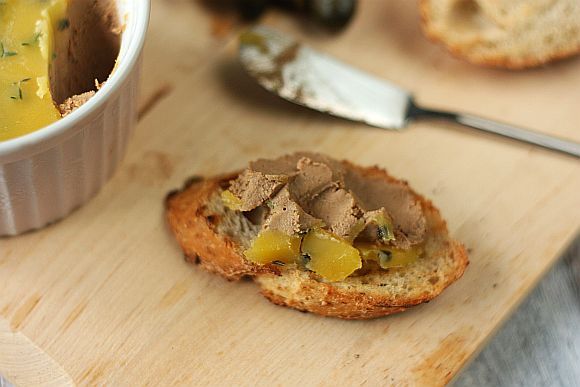
This is my very first pâté and I used duck livers instead of chicken.  It's probably not a dish for you if you don't like eating livers of any kind. 

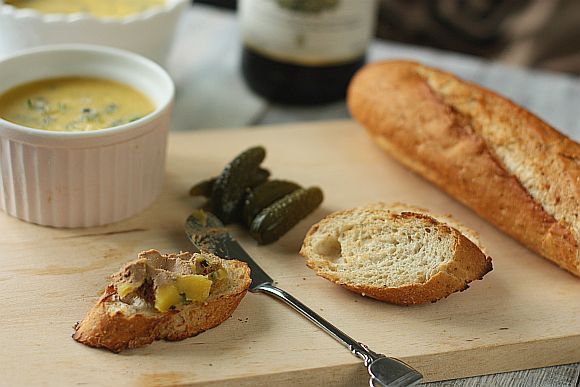
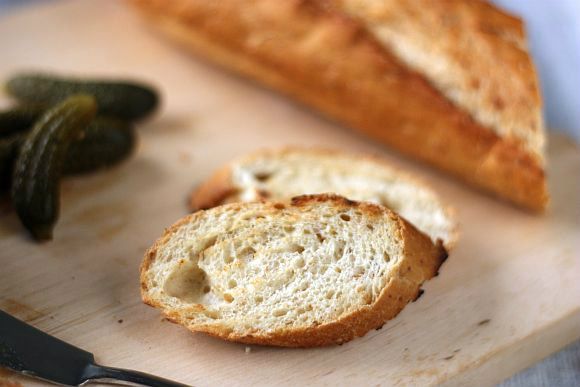
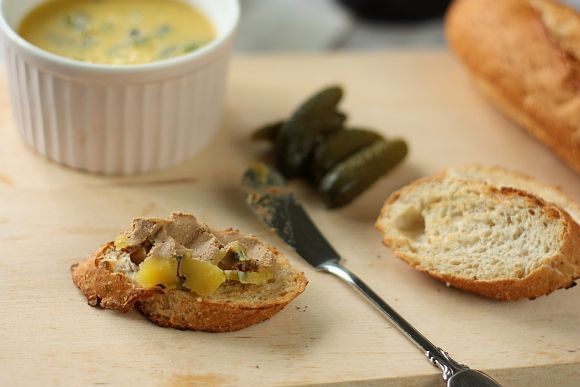
Chicken and duck livers are really inexpensive and this makes an impressive starter for a western sit down dinner.  Serve this with baguette or melba toast with a sides of cornichons. 

Duck liver 1 photo Duckliver1.jpg


Duckliver3 photo Duckliver3.jpg


Duckliver5 photo Duckliver5.jpg


Duck Liver & Thyme Pâté
Recipe Adapted from Antony Worrall Thompson "Saturday Night Kitchen"
Serves 6

Ingredients:

175g/6oz unsalted butter, softened
450g/1lb duck livers, trimmed and cleaned
2 shallots, finely chopped
2 cloves garlic, finely chopped
½ tsp freshly ground black pepper
2 tbsp brandy or port 
55g/2oz clarified butter, melted
1 tsp of fresh thyme leaves

Method:

1)  Heat 15g/½oz of the butter in a frying pan until foaming.

2) Add half the livers and fry quickly on all sides until golden, but still pink in the middle, about 4-5 minutes.

3) Repeat with a second batch of butter and livers.

4) Place the livers and juices in a food processor.

5) In the same pan heat another 15g/½oz butter, add the shallot, garlic and cook over a moderate heat until the shallot is soft but not coloured.

6)  Add the brandy and freshly ground black pepper, and scrape the bottom of the pan to release any coagulated juices.

7)  Place everything in the food processor, including the remaining unsalted butter. Blend until smooth.

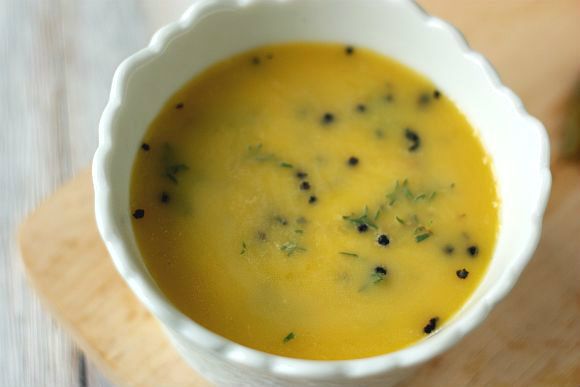
8)  Pass the mixture through a fine sieve and put in a ramekin. Pour the clarified butter over the mixture, give another sprinkle of freshly ground black pepper and top with thyme.  Cover with the cling film, cool then refrigerate.

9) To server, stand in room temperature for about 15 minutes.  Serve with crusty toasted baguette and cornichons.


Duck liver 4 photo Duckliver4.jpg


Duck liver 2 photo Duckliver2.jpg


Duckliver6 photo Duckliver6.jpg

Sunday, February 24, 2013

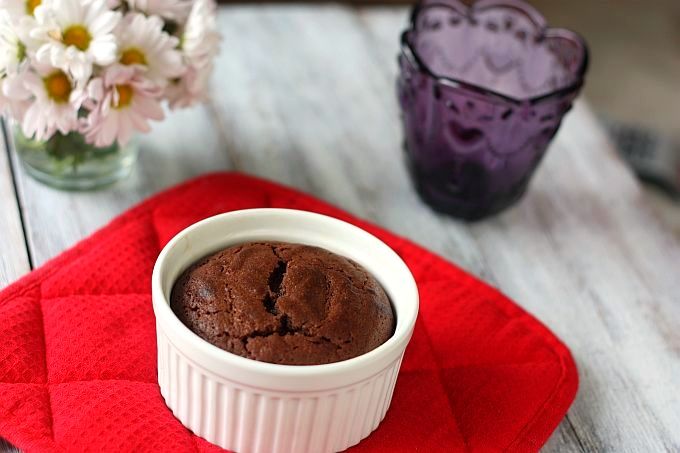
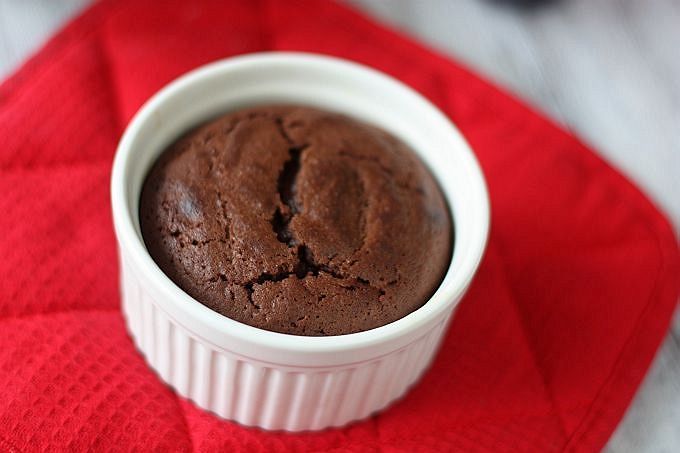
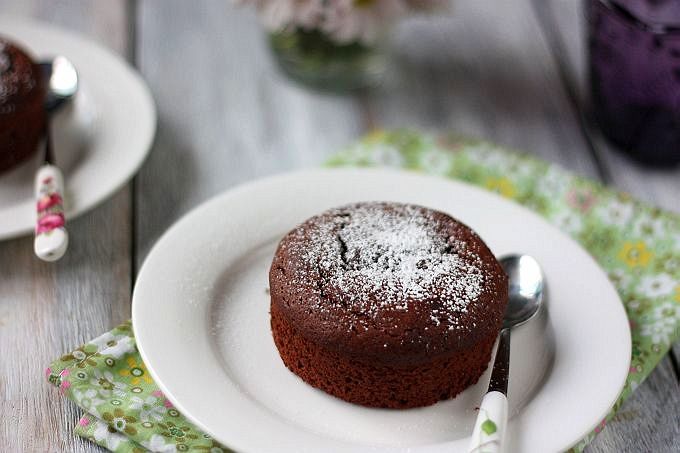
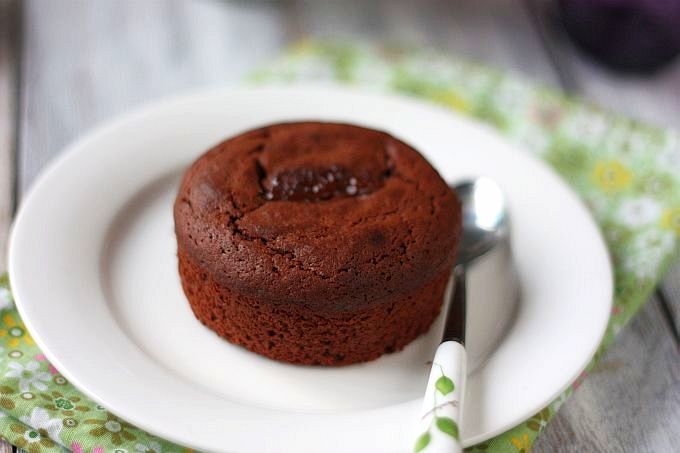
Lava Chocolate Cake

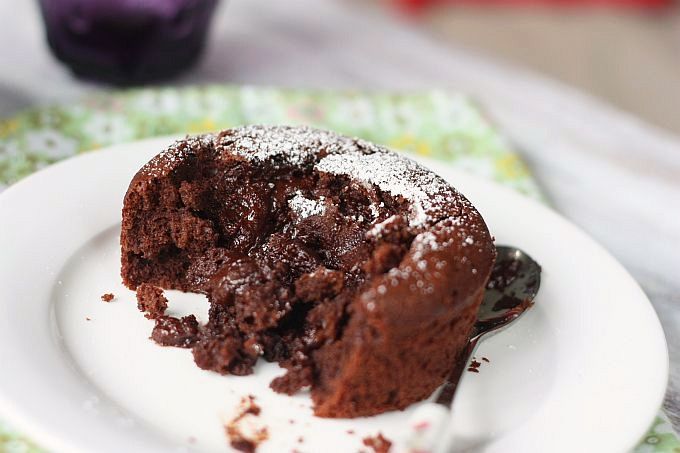
I love lava chocolate cakes as it makes such an elegant dessert to round off a good meal.  I had always thought it was a difficult dessert to make but after making it once (and dare I say that it was successful), I realized that it is actually very easy.  The first lava cake I had tried a couple of years back came from Martha Stewart's Living recipes.  It was delicious!

lava 1 photo lavacake1_zpsd65cbe2a.jpg

This is the second time I am making a lava cake again and this too doesn't have many ingredients to content with and the preparation and baking time is really "singe".  The main thing to remember is to use good quality chocolate and don't over bake it - you want the chocolate to be oozing out!

lava 5 photo lavacake5_zps0b563944.jpg


lava 2 photo lavacake2_zps21947889.jpg


Lava Chocolate Cake
Recipe Adapted from Delia Smith
Serves 4

Ingredients:

115g good quality dark chocolate (about 65 - 70% cacao)
115g salted butter
1 tsp of coffee extract or Tbsp of instant coffee granules
2 whole eggs
2 egg yolks
60g caster sugar
30g all purpose flour, sifted

Method:

1) Preheat oven to 200°C. Grease and butter 4 x 125ml ramekins.

2)  In a heavy based pan over low heat, melt the chocolate, butter and coffee extract until melted. Stir to a glossy batter. Set aside to cool for 5 minutes. (You can also use a baine-marine to melt the chocolate and butter)

3) In another mixing bowl, beat eggs, egg yolks and sugar with an electric mixer for at least 5 minutes or until pale, thick and leaves ribbons trails.

4) Add chocolate and sprinkle the flour into the egg mixture and gently fold until just combined. (You can also use a whisk.) Be careful not to knock too much air out of the batter.

5) Divide batter amongst ramekins and place on a baking tray. Fondants can be covered with clingwrap and stored in the fridge or freezer at this stage. Bake for 12 minutes or until the tops have risen and have set (but still soft underneath). If baking straight from the fridge, bake for about 13 minutes. If frozen, bake for 14 minutes.

6) Remove fondants from the oven and leave to sit for about a minute.  Run a palette knife around the edges and turn out onto a plate. If baked from frozen, rest for 2 minutes before unmolding.

7) To serve dust with icing/powder sugar.  Serve warm and if you want add a dollop of good vanilla ice-cream.


lava 4 photo lavacake4_zps66289bda.jpg


lava 3 photo lavacake3_zps4f1f9790.jpg


lava 6 photo lavacake6_zps13ad5a11.jpg

Thursday, January 17, 2013

Vote for Ringo ..... "Star Pooch of the Month"

Yeah!!  And thanks if you have voted.  Ringo has been picked TOP 6 and has advanced to the final rounds of voting.  If you have not voted, please do and if you had voted earlier, please do vote one more time.  Votes are now counted from zero again ...... closing date is 27 January.   Keeping my fingers crossed! 

******************************************************************************

I recently entered Ringo, my Boston Terrier into a competition which is meant for three different dog breeds - Botson Terriers, French Bulldogs and Pugs. 

The top two pooches with the most number of votes will receive a spa treatment and a make-over.    There are 2 rounds of competition and the first six pooches with the most number of votes will advanced to the second round. 

So as a "mummy" and with all parents, you would want your child to win!  In my case, the "child" happens to be a 4-legged furkid.  So I am reaching out through my blog to ask that you Vote for Ringo - "Star Pooch of the Month" .

You would need to LIKE the Facebook page first before you can vote.  Only one vote per person is allowed - and here is a sneak of Ringo's picture.   Isn't he adorable?  He is a very sweet doggie and I adopted him in April 2012.  He is 7 and half years old and loves ... absolutely loves to play fetch.  He is very good at it too.  I think in his order of life it would be food, ball, sleep!

Please do vote for Ringo as he whispered to me last night that he "oooh so want to have a spa treatment".

Ringo2

Friday, January 11, 2013

Zinio Give Away Results

If you had participated in the recent ZINIO GIVE AWAY, you must be anxiously waiting for the results.  Well, wait no longer!

Ten lucky winners have been picked using Random.Org and they are, in no particular order:

*  Cathy of Cathy's Joy
* Jasmine of The Sweetylicious
* ykristen
* Ann of Anncoo Journal
* Lubna of Kitchen Flavours
* Esther (wikilOv@gmail.com)
* Jesslyn
* Sinsationscakes
* Janine
* Kim Reid

Kindly drop me an email at jos2829@yahoo.com.sg with your email address and also confirming the choice of your subscription.  Please do so within the next 48 hours.  Your contact details will then be forwarded directly to Zinio to commence your subscription.

Happy reading and have a great weekend ahead!


Doc 1

Wednesday, January 2, 2013

Zinio Give Away

I was recently contacted by Zinio via email with a fantastic offer on their magazines.  Not familiar with  Zinio?  Well,  Zinio has thousands of top magazines from around the world and you can browse and purchase subscriptions or single issues instantly from your computer or mobile device to read wherever and whenever you like.  Their EXPLORE section lets you read as well even without a subscription - thousands of articles from your favourite magazines and share them with friends!  Some of their popular magazines include La Cucina Italiana, Vegetarian Times, Food Arts, Clean Eating, Vogue, Style at Home, PC Magazine and MacWorld.

 Zinio is currently offering readers about 300 different magazine titles at up to 50% off their already-discounted prices.  Interested?  Then go find out more about their ZINIO OFFER..  Hurry and sign up as their offer will expire on January 7th!

Mag1

Mag2

In addition Zinio is also running the ZINIO HOLIDAY SWEEPSTAKES and anyone can  take part in this competition.  You will have a chance to win an iPad Mini - contest will end on January 7th.

Photobucket

As if the above is not enough ....Zinio is also giving away 10 free subscriptions to 10 lucky winners!  Wow!  If you are interested, leave a comment in this blog by midnight January 6th.  Your comment should include which magazine you would like to receive free and why. 

Wednesday, December 19, 2012

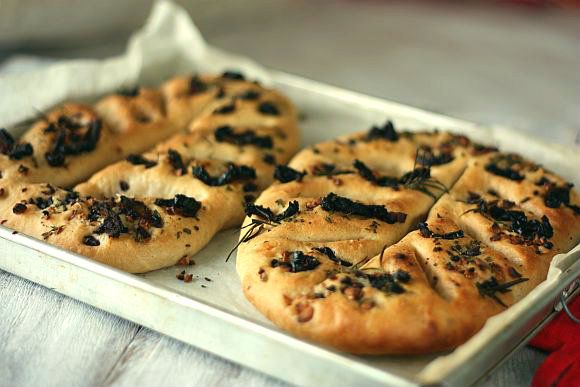
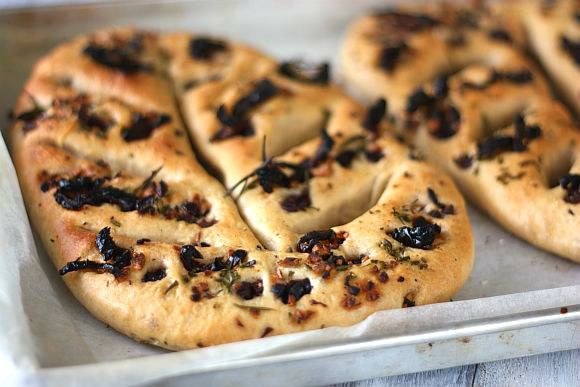
Fougasse (French flat bread)

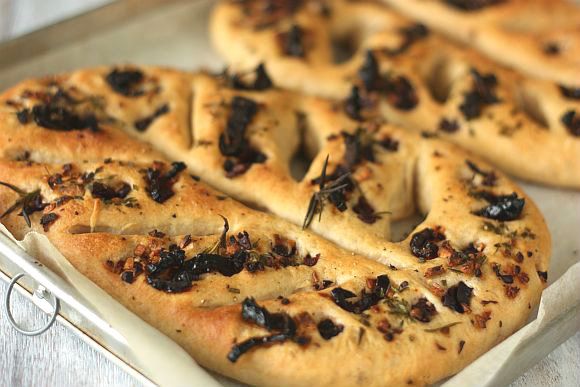
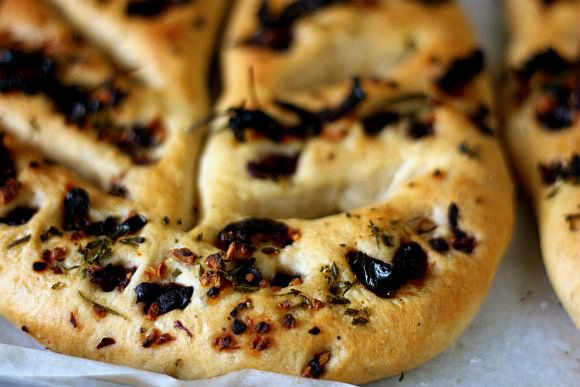
I recently tried my hand at making a starter dough as well as a traditional French flat bread called Fougasse - pronounced as "foogass".

One of the distinguishing characteristics of fougasse is that it is often baked into a shape that is somewhat like a tree, with one end resembling the trunk and the wider opposite end being more or less round in structure. Fougasse can be used as a tasty accompaniment to both hot and cold soups, as well as create sandwich like snacks for the family. For mains, it goes very well with most pasta dishes as well as creamy casseroles or stews - great to mop up all the tasty gravy too! Fougasse (French flat bread)
fougasse2

fougasse1


Fougasse (French flat bread)
Adapted from From “Raymond Blanc's Kitchen Secrets”
Makes 2.1kg loaves of bread

For the dough starter: (this needs to be prepared a day before)

5g fresh yeast
135ml cold water
100g strong white bread flour, preferably organic
100g rye flour

For the dough:

680ml tap water
940g traditional white bread flour, preferably organic, plus extra for dusting
130g rye flour
15g fine sea salt (do not reduce your salt, otherwise the bread is quite bland)
22g fresh or 11g dried yeast

For the fougasse topping:

2 Tbsp extra virgin olive oil
1 tsp fresh rosemary, finely chopped
1 tsp fresh thyme leaves, finely chopped
1 tsp finely minced garlic
3 tsp finely chopped black olives
3 tsp of thinly sliced sundried tomatoes in oil
-3 grindings black pepper
Sprinkle of sea salt for topping

Method:

1) .For the dough starter, whisk the yeast into the water until dissolved.

2) Mix the white and rye flours in a separate bowl until well combined.

3) Pour the yeast mixture over the flours, whisking well to form a thick paste. Cover the bowl with a damp tea towel and set aside to ferment for at least 6 hours and up to 18 hours at room temperature. You can use dried yeast but you will only need half the quantity. Yeast is dormant at 4C, active between 20-40C and destroyed at 45-50 C. Using a dough starter in bread making gives a greater complexity of flavour; as the yeast activates and feeds on the natural sugars present in the flour, over time it produces a distinctively tangy or sour taste.

4) For the dough, line 2 large baking trays with greaseproof paper.

5) Add the water to the fermented dough starter and mix well to combine.

6) Place the white and rye flours into a food processor, set with the dough hook. Add the salt to one side of the bowl of the food processor, then add the yeast to the other side, being careful not to let the salt and yeast touch at this stage. as the salt will attack the yeast and damage its ability to ferment.

7) Add the starter dough mixture to the food processor and mix on a low speed for 5 minutes. The slow mixing process will give the flour the opportunity to fully absorb the water. (I used my KitchenAid for the kneading process – use the dough hook)

8) Scrape the dough from the sides of the bowl of the food processor and from the dough hook, then continue to mix on a medium speed for a further 5-7 minutes, or until the dough is smooth and elastic. The faster speed will warm the gluten in the flour making the dough elastic and creating the right environment for the fermentation to happen.

9) Scrape the dough into a neat ball and cover the bowl with cling film. Set aside to prove at room temperature for 1 hour, or until it has doubled in size.

10) When the dough has proved, turn the dough out onto a lightly floured work surface using a scraper if necessary. Cut the dough into four equal pieces.

11) The dough can be shaped in any way you choose. For a fougasse-style loaf, line four baking trays with baking parchment.

12) Roll each piece of dough into a triangle shape and place one onto each baking tray. Make a cut all the way down the centre of each dough triangle, without completely cutting through the dough. Make 3 deep slashes on either side of the central cut, cutting all the way down to the baking tray, then pull the dough apart slightly to create holes.

13) Brush the fougasses all over with olive oil, then randomly scatter and gently push the remaining fougasse topping ingredients evenly over the dough. This is to ensure that the topping sticks to the dough whilst it is proofing. Set aside to prove for 30-40 minutes.

14) Meanwhile, preheat the oven to 250C/475F/Gas 9 or to its maximum setting (this is critical as the temperature will decrease significantly when you open the door) and place a baking tray in the middle of the oven and a roasting tin on the bottom.

15) Slide the loaves onto the preheated baking tray in the middle of the oven, using the greaseproof paper to transfer them and pour 50ml/2fl oz of water into the roasting tin on the bottom. This will generate steam within the oven creating a good crust on the bread.

16) Bake the fougasse in the oven for 18-20 minutes, or until golden-brown and cooked through. (The loaves are cooked through when they make a hollow sound when tapped on the undersides.) Remove from the oven and set aside to cool.

17) Extra fougasse can be frozen for about one month. Thaw and reheat in oven to serve.
fougasse3

fougasse4

Tuesday, December 4, 2012

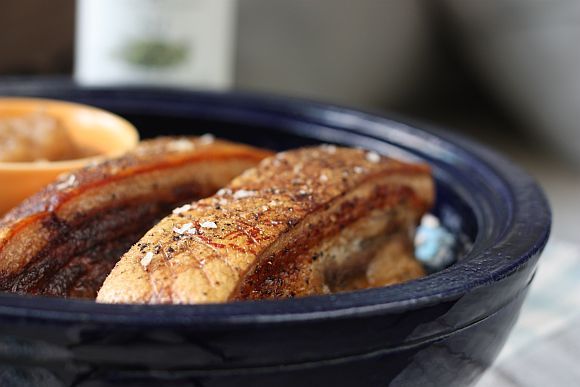
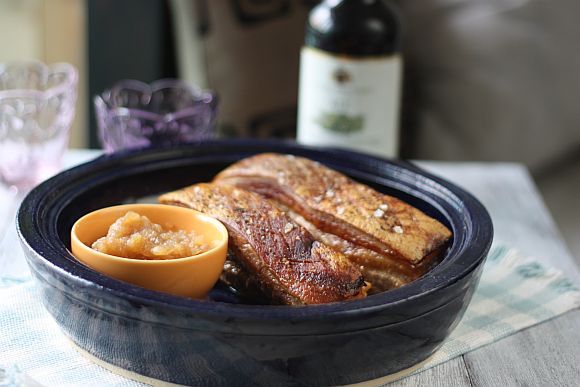
Crispy Pork Belly in Milk

I have been eyeing this recipe from "The Free Range Cook" series which is aired on my local cable for almost five months now.  I finally decided to try out the recipe and got myself to a local supermarket. 

You should have seen me at the meat counter peering at the slices of pork belly and trying to decide which piece looked the most succulent.  I took several pieces out and turned it this way and that before deciding on my purchase.  I must have stood there for at least ten minutes looking like a really picky shopper!

RP Belly 2

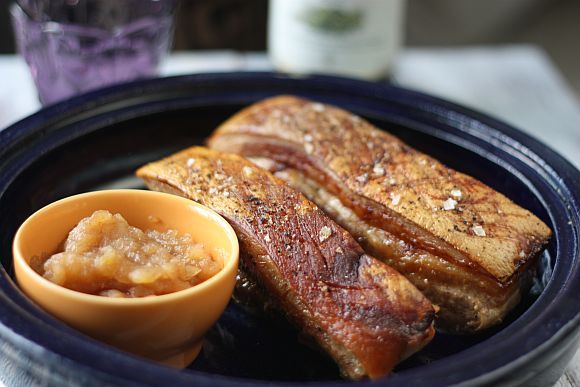
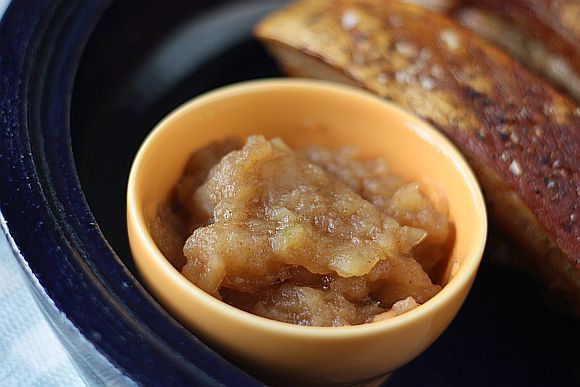
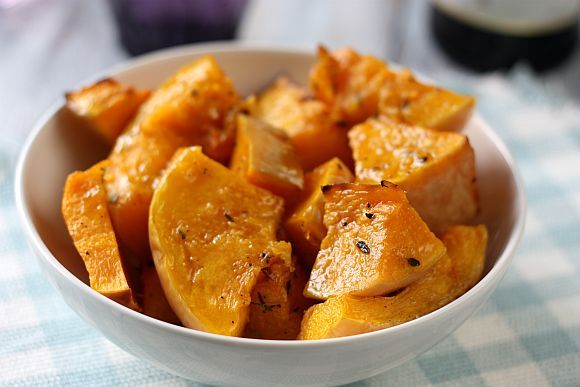
Overall this recipe turned out quite interesting.  During the cooking process expect the milk to develop a skin and turn brown, somewhat caramel like.  Although the recipe tells you to throw out the milk after the dish is done, I kept some of it and reduced it down further over the stove top.  I used the sauce as gravy to the pork belly.  I also made an apple cinnamon sauce to go with the meal as well as roasted pumpkin with mustard seeds.


Photobucket


RP Belly 5

Crispy Pork Belly in Milk
Recipe Adapted from Annabel Langbein "The Free Range Cook"

Ingredients:

1 to1.2 kg pork belly with skin scored
Freshly ground black pepper.
1 1/2 tsp sea salt flakes
3 - 4 fresh sage leaves.
2 to 2 and a half cups of fresh milk

Method:

1)  Preheat oven to 240C.

2)  Pat the skin of the pork dry and season the flesh side with pepper and half the salt. Place the sage leaves on the bottom of a baking dish and put pork on top, skin side up. Score the skin with a very sharp knife.  Season the top with the remaining salt.

3)  Roast for 20-25 mins at 240C until the skin is starting to blister and crackle. 

4) Remove the baking dish from the oven and slowly pour the milk around the meat to come about half to two thirds of the way up the sides of pork.  Do not let the milk touch the skin otherwise it will loose its crackle.

5) Reduce the oven to 160C and roast for a further 1 and a half hours or until pork is meltingly tender.

6) Check the level of liquid during cooking and if it has evaporated add a little more to the pan.  Remove pork from oven, lift out from dish and allow it to cool. Discard the liquids as it breaks into curds.

7) For easy cutting place the meat flesh side up on a chopping board and use a heavy sharp knife to cut into slices 3-4cm thick. Serve warm or room temperature.


RP Belly 4


RP Belly 1
Related Posts with Thumbnails