Thursday, January 12, 2012

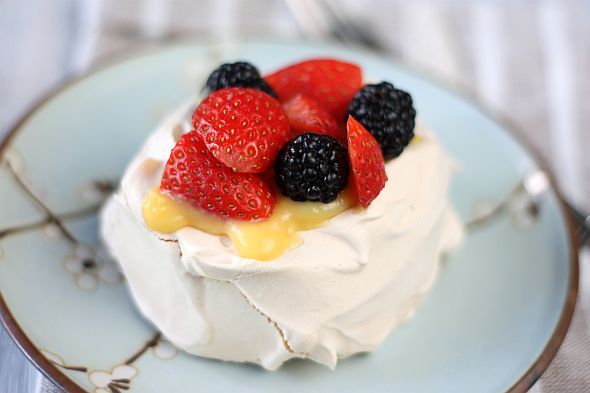
Mini Pavlova with Summer Berries

I confess big time that this is my first ... very first Pavlova! I have never made one or eaten one in my life. Even my 12 year old niece Caitlin who stays in Melbourne has beaten me to this recipe and she has made this many a times. When I posted that I was making Pavlova on my Facebook, Caitlin immediately responded with a "What, you are only now making Pavlova?" I can only imagine her facial expression to her mum at the other end.

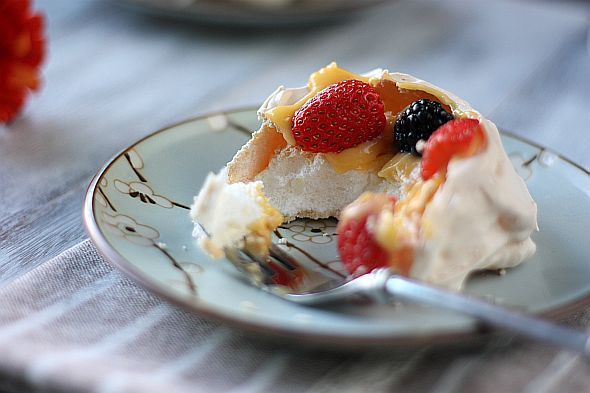
Its kind of funny when I think about this. A Pavlova is such an easy recipe, less than five ingredients are required. Shouldn't I have attempted this before as compared with the triple layer or fondant cakes I have made in the past. Whatever was I thinking! I must say that the end result was excellent. The outer crust was crispy and the insides was marshmallowy soft and light. I had left over lemon curd which came in handy. I topped it off with strawberries and blackberries which were on sale. Making mini ones is so much easier to serve and it certainly does make elegant desserts. When I do make them again in the future I'll try pairing them with passion fruit pulp.
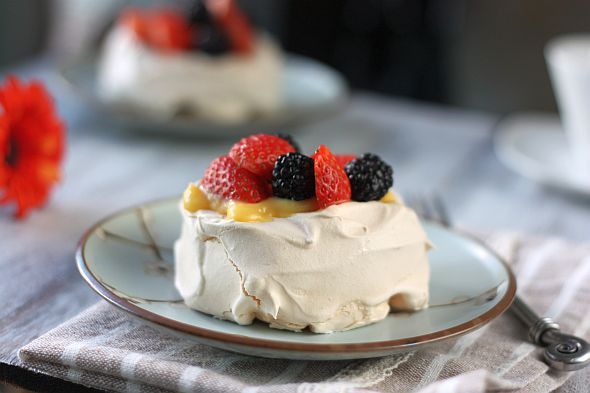
pavlova 2


Mini Pavlova
Makes 6 Minis
Print Recipe

Ingredients:

3 eggs (60g each), separated
2/3 cups caster sugar
1 tsp cornflour (corn starch)
1/2 tsp white vinegar
1/2 tsp vanilla extract

To Decorate:

Lemon Curd (recipe below)
Mixture of fresh berries

Method:

1) Preheat oven to 120°C. Line an oven tray with parchment

2) Use an electric mixer to whisk egg whites in a clean dry bowl until soft peaks form. Gradually add sugar and continue to beat until meringue is thick and glossy and sugar dissolved. Rub a little meringue between fingers. If still "gritty" with sugar, continue to whisk until sugar dissolves. This may take any where between 12 to 16 minutes depending on your electric mixer.

3) Add cornflour, vinegar and vanilla and whisk until just combined.

4) Spoon meringue onto the parchment, making six mini piles. If you want to be precise you can mark circles as a guide on the underside of the parchment paper.

5) Smooth sides and top of pavlova. Use a small spatula to form a small indention in the center to enable you to pile the lemon curd and berries when you assemble.

6) Bake in pre-heated oven for about an hour to 1 1/2 hours or until pavlova is dry to the touch. Turn off oven. Leave pavlova in oven with the door ajar to cool completely. When completely cold, transfer to serving plate or store in an airtight container until required.
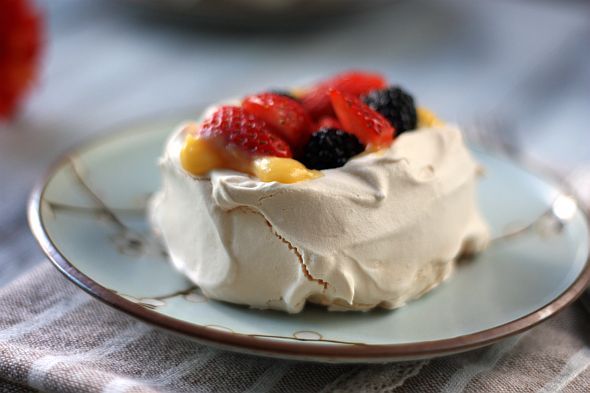
pavlova 4


Lemon Curd
Makes about 1 1/2 cups

Ingredients:

3 large eggs
3/4 cup (150 grams) granulated white sugar
1/3 cup (80 ml) fresh lemon juice (2-3 lemons) (do not use the bottled lemon juice)
4 tablespoons (56 grams) unsalted butter, at room temperature
1 tablespoon lemon zest

In a stainless steel bowl placed over a saucepan of simmering water, whisk together the eggs, sugar, and lemon juice until blended. Cook, stirring constantly (to prevent it from curdling), until the mixture becomes thick (resembling sour cream). This will take approximately 10 minutes.

Remove from heat and immediately pour through a fine strainer to remove any lumps. Cut the butter into small pieces and whisk into the mixture until the butter has melted. Add the lemon zest and let cool. The lemon curd will continue to thicken as it cools. Place a clingwrap directly on top of the curd (so a skin doesn't form) and refrigerate for up to a week.

Note: If you want a lighter lemon curd whip 1/2 cup (120 ml) of heavy whipping cream and fold into the lemon curd.

To Assemble:

Place a pavlova on to a serving plate. Top with about 3 tsp of lemon curd in the center. Cut fresh berries and pile on top. Dust lightly with icing sugar before serving. Once assembled, it is best to eat the pavlova within 2 hours.
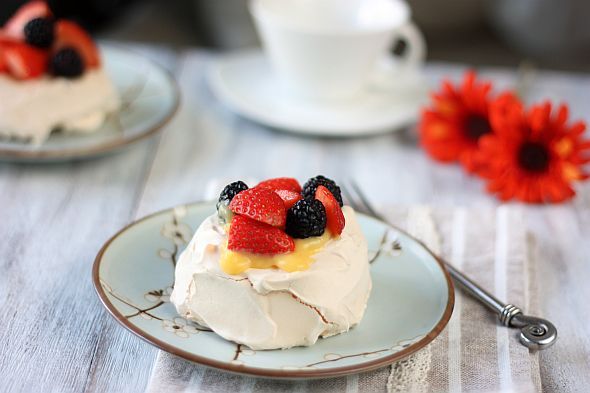
pavlova 1


pavlova 3


pavlova 5

Sunday, January 8, 2012

Roasted Pumpkin Soup

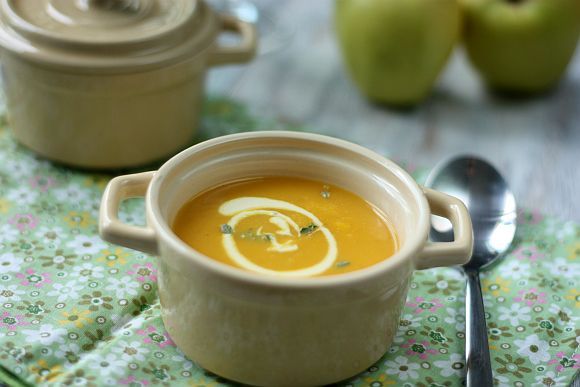
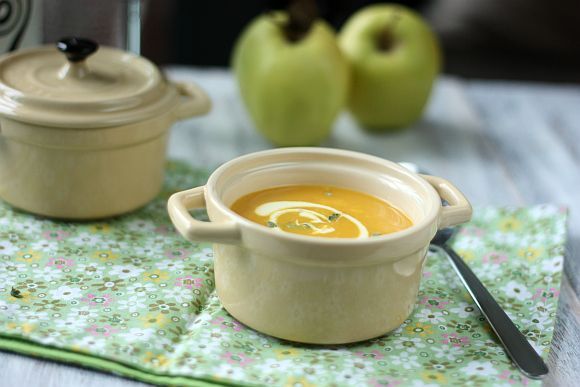
At times I am just in the mood of having a simple meal such as a salad or soup. This particular weekend was one of those days and I decided to make some homemade pumpkin soup. I know it would be easier to just grab a can off the grocery shelf but I find canned soups to be loaded with a lot of salt. Furthermore it is either too watered down or has a starch like consistency.

I decided to try making some pumpkin soup from scratch and butternut pumpkin is the easiest to find in this part of the world. Butternut Pumpkins, also called butternut squash, are pear-shaped with pale orange-brown skin and a brightly coloured deep orange flesh. The wonderfully moist flesh has a sweet, buttery, nutty flavour and a slightly fibrous firm texture. Pumpkin is a source of vitamin A & C, folate, potassium, nician and dietary fibre.

Pumpkin is prone to decay, so it is important to carefully inspect it before purchase. Choose ones that is firm, heavy for its size and has a dull, not glossy, rinds. The rind should be hard as soft rinds may indicate that the pumpkin is watery and lacking in flavour. Avoid those with any signs of decay, which manifest as areas that are water-soaked areas or mouldy. If you are not planning to cook the pumpkin immediately, you should store it in a cool, dark and well ventilated area. However once the butternut is cut, wrap in plastic and store in fridge.

pumpkin soup 2


Roasted Pumpkin Soup
Recipe Adapted from Donna Hay's "Fast, Fresh & Simple"
Serves 4

Ingredients:

1 x 2kg whole butternut pumpkin
1 onion
Olive oil, for drizzling
3 1/2 cups chicken stock (fresh or canned (unsalted))
1 cup (250ml) single (pouring) cream
1 sprig of fresh rosemary
Sea salt
Freshly ground black pepper

Method:

1) Preheat oven to 220°C (425°F).

2) Cut the pumpkin in half lengthways and scoop out the seeds.

3) Place the pumpkin, cut-side up, and onion on a baking tray. Add the sprig of fresh rosemary on top of the pumpkin.

4) Drizzle with a little oil and sprinkle with salt.

5) Bake for 55–60 minutes or until the pumpkin is just soft and starting to brown. Remove and discard the rosemary. Scoop the pumpkin out of the skin into a blender.

6) Scoop the onion flesh away from its skin and add to the blender.

7) Add 1 cup (250ml) of the chicken stock and blend until smooth.

8) Pour the mixture into a saucepan, add remaining stock and cream.

9) Place over medium heat until soup is heated through.

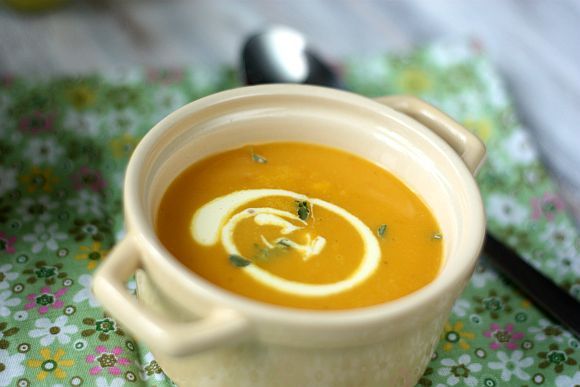
10) Serve with freshly ground black pepper and a drizzle of fresh cream or sour cream.

pumpkin soup 1


pumpkin soup 3

Tuesday, January 3, 2012

Honey Madeleines

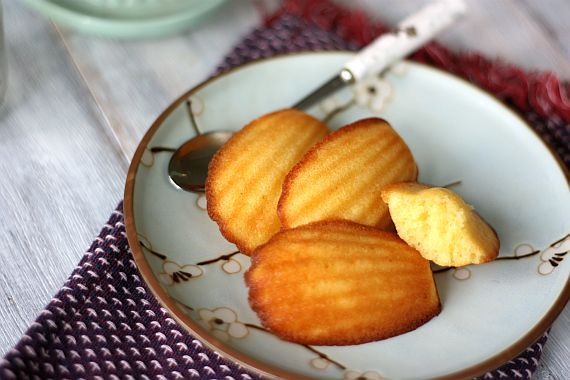
After seeing some of my blogger friends posting up madeleine recipes in their blogs, I was really tempted to try making them and having my very first taste of these cute little cakes. Alright I confess ... I have never had a madeleine before in my life.

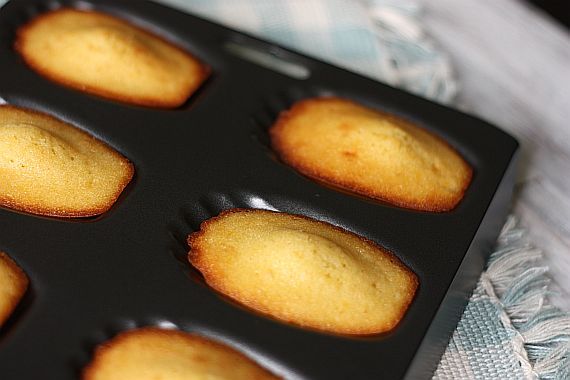
For this baking venture, I had to get myself a madeleine mold. Luckily they were on sale at a local baking store and once I got my hands on one, there was no holding back after that!

Mandeline 4


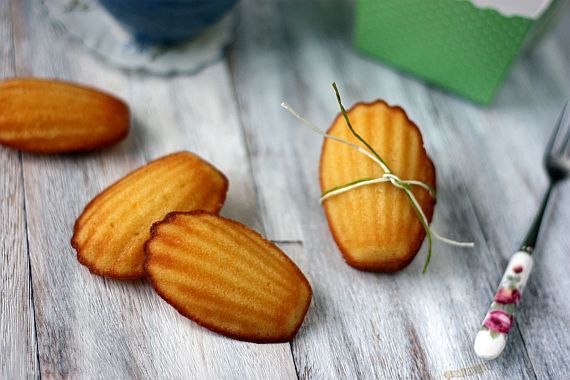
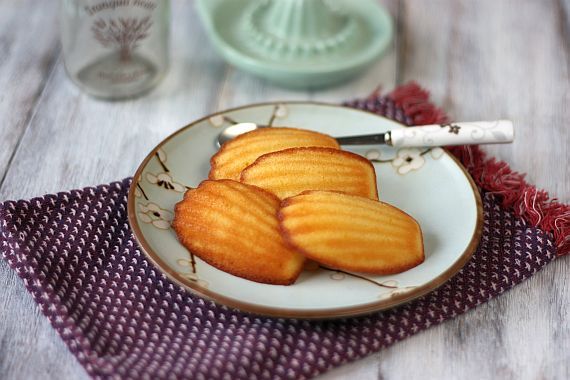
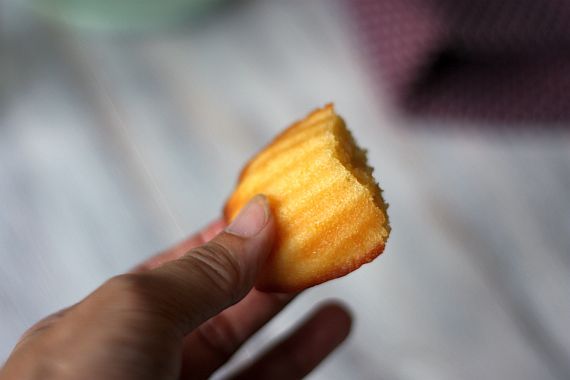
What exactly are Madeleines? Madeleines are very small sponge cakes with a distinctive shell-like shape acquired from being baked in pans with shell-shaped depressions. A génoise cake batter is used. The flavour of these little cakes are similar to, but somewhat lighter than a traditional sponge cake. So whether you enjoy them plain or dipped in your tea or coffee, these small petit fours make the perfect afternoon treat. There are a number of flavours that could be added to the batter to create different madeleines.

I must say that after having tasted my first Madeleine I will be trying a chocolate variation in the near future.

Mandeline 1


Mandeline 3


Honey Madelines
Makes about 24 3" size madeleines
Recipe Adapted from "Joy of Baking"

Ingredients:

113g unsalted butter
1 cup all-purpose flour
1/2 teaspoon baking powder
1/8 teaspoon salt
3 large eggs, at room temperature
100g granulated white sugar
1 Tbsp good quality honey
1/2 tsp lemon zest
1 teaspoon pure vanilla extract

Method:

1) First, melt the butter and allow it to cool while you make the batter.

2) In a small bowl place the flour, baking powder and salt and whisk until well blended.

3) In the bowl of your electric mixer, beat the eggs, honey and sugar at medium-high speed until the mixture has tripled in volume and forms a thick ribbon when the beaters are lifted (about 5 minutes). Add the lemon zest and vanilla extract and beat to combine.

4) Sift a small amount of flour over the egg mixture and, using a large rubber spatula, fold the flour mixture into the beaten eggs to lighten it. Sift the rest of the flour over the egg mixture and fold in being sure not to overmix or the batter will deflate.

5) Whisk a small amount of the egg mixture into the melted butter to lighten it. Then fold in the cooled melted butter in three additions. Cover and refrigerate for at least 30 minutes, or several hours, until slightly firm.

6) Position a rack in the center of the oven and preheat to 375 degrees F (190 degrees C). Generously butter two 12-mold madeleine pans. Dust the molds with flour and tap out the excess. (Make sure the pans are well greased or the madeleines will stick and be hard to remove.)

7) Drop a generous tablespoonful of the batter into the center of each prepared mold, leaving the batter mounded in the center. (This will result in the classic "humped" appearance of the madeleines.)

8) Bake the madeleines for 11 to 13 minutes, until the edges are golden brown and the centers spring back when lightly touched. Do not overbake these cookies or they will be dry.

9) Remove the pans from the oven and rap each pan sharply against a countertop to release the madeleines. Transfer the madeleines, smooth sides down, to wire racks to cool. The madeleines are best served the same day but can be stored in an airtight container at room temperature for 2 to 3 days or frozen, well wrapped, for up to 1 month.

10) When serving dust with confectioners sugar.

Mandeline 2


Mandeline 5

Tuesday, December 27, 2011

Apple Tart "Maman Blanc"

You could say I am an avid fan of the Food Channel on my local cable television. There are so many programs I currently follow that it would be simply impossible to list down. On some evenings, my television set would be just tuned to only one channel and nothing else. I'm not sure if this could be viewed as a compulsive, obsessive behaviour - you tell me!

Photobucket


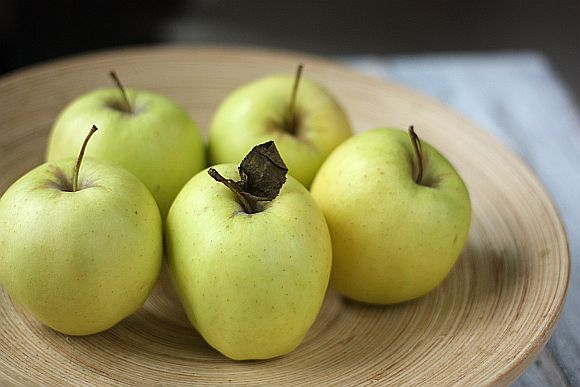
Another compulsion of mine is to buy groceries first and then try to source for a recipe around what I had purchased. Would not a sane person do the opposite? Guess what I did it again two weekends ago. I purchased golden delicious apples and had to source for a recipe to consume them. This is where the Food Channel comes in useful. I've made a couple of apple tarts before and have posted them as well. So I didn't want to repeat something that I had already tried out and tested.

apple custard 3


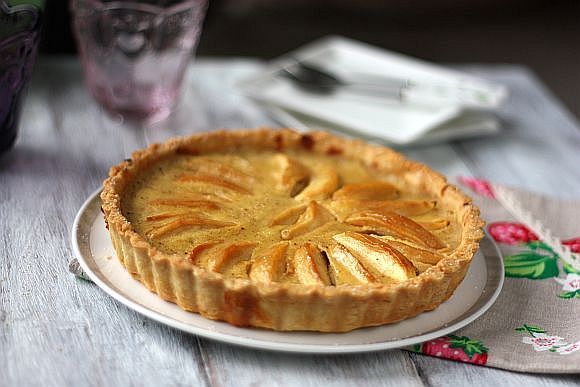
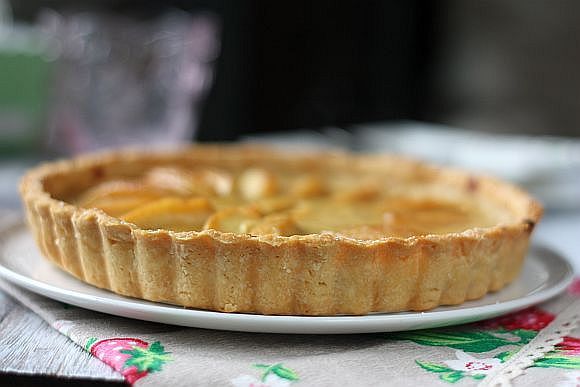
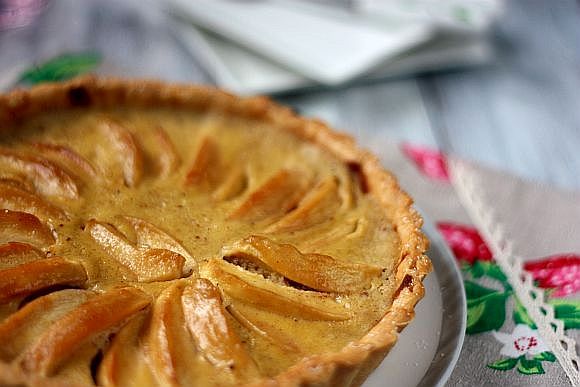
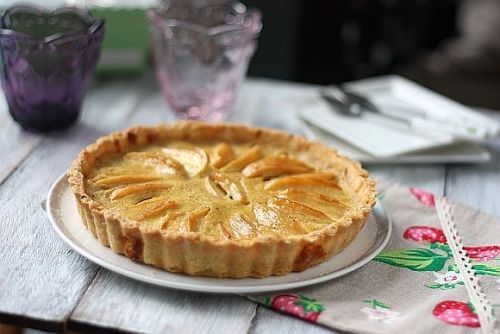
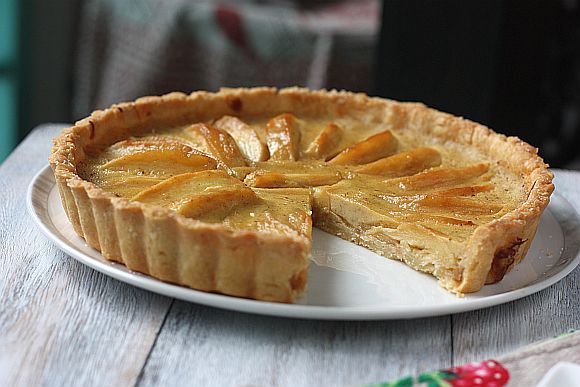
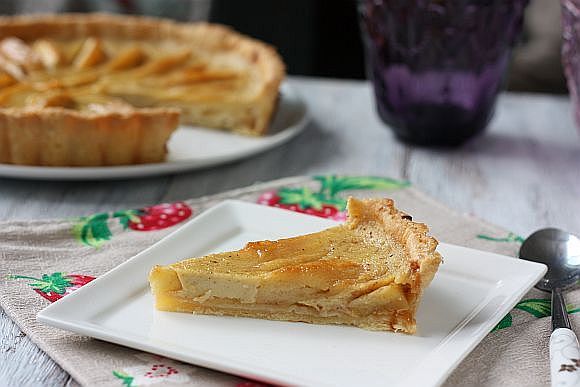
Timely again when I watched Raymond Blanc's "Kitchen Secrets" as he was making a Apple Custard Tart. So it is this particular recipe that I am now posting. The tart dough is new as well but I must say that the pastry is extremely good. It is flaky but at the same time a sturdy one. Some tart pastry tends to be flaky but falls apart once you cut through it. Well this doesn't! In fact it held up very well even one day after it was baked. The custard filing is extremely delicious and moist. However because as it is a custard, it is best consumed on the same day. I served it plain but I am sure it would have been delicious accompanied by a good vanilla ice-cream or creme fresh. Definitely a keeper recipe in my opinion.

apple custard 2


Photobucket


Apple Tart "Maman Blanc"
Recipe Adapted from Raymond Blanc's "Kitchen Secrets"

For the Pastry:

250g/9oz plain flour
pinch sea salt
125g/4oz unsalted butter, diced, at room temperature
1 tsp cold water
1 medium sized egg

For Glazing the Apples:

15g unsalted butter
1 tsp lemon juice
15g sugar

For the Custard Filling:

35g caster sugar
1/2 Tbsp brandy
1/2 tsp mixed spice
1/2 tsp nutmeg
1/2 tsp cinnamon powder
3 golden delicious apples (or cooking apple), peeled, cores removed, each cut into 10 segments
100ml double or thickened cream
1 medium egg

Method:

1) For the pastry, pulse together the flour, butter and salt in a food processor until you reach a sandy texture. Add the egg, water and pulse again. If you over mix the dough at this stage it will lose its flakiness.

2) Transfer the dough onto a lightly floured work surface and knead with the palms of your hands for 30 seconds, or until the dough is smooth and well combined.

3) With the palm of your hand flatten the dough slightly to 1cm/½in thickness, then sandwich it between two large sheets of cling film. Chill in the fridge for 30 minutes.

4) Preheat the oven to 220C/440F/Gas 7. Place a baking tray into the oven to preheat.

5) Roll the chilled dough, still sandwiched in cling film, to a 2mm thickness. Place a 22cm/9in diameter, 2cm/¾in deep tart ring on a greaseproof lined wooden peel or baking tray. Remove the top layer of clingfilm and carefully pick up the dough, place it into the tart ring with the second layer of clingfilm facing up. Lift and tuck the dough into the edges of the ring and discard the clingfilm. By tucking in the base you will minimise the shrinking of the dough during cooking. Trim off any excess with a rolling pin.

6) Using your index finger and thumb, pinch and press the dough until it's 2mm above the tart ring all around the edge. With a fork, prick the bottom of the tart. Chill in the fridge for 20 minutes.

7) Meanwhile, for the filling, heat the butter, lemon juice and 15g of the sugar in a small saucepan until the butter has melted and the sugar has dissolved. Remove from the heat and stir in the brandy. Set aside.

8) When the tart case has chilled, arrange the apple segments in concentric circles, overlapping the apple slices as you go. Brush the apples all over with the brandy/butter mixture. Slide the tart ring onto the pre-heated baking tray and bake for 10 minutes.

9) Reduce the oven temperature to 200C/400F/Gas 6, then continue to cook for a further 20 minutes, until the pastry is pale golden-brown and the apples have caramelised.

10) Whisk together the cream, egg, spices and the remaining 35g caster sugar until well combined. When the pastry is pale golden-brown and the apples have caramelised, pour the custard mixture into the tart, bake for a further 10 minutes or until the filling mixture has just set.

11) To serve, remove the tart from the oven and set aside for 1 hour to cool slightly, then carefully remove the tart ring. Dust all over with icing sugar. Serve immediately.

apple custard 1


apple custard 5


apple custard 4

Saturday, December 24, 2011

Coconut Candy

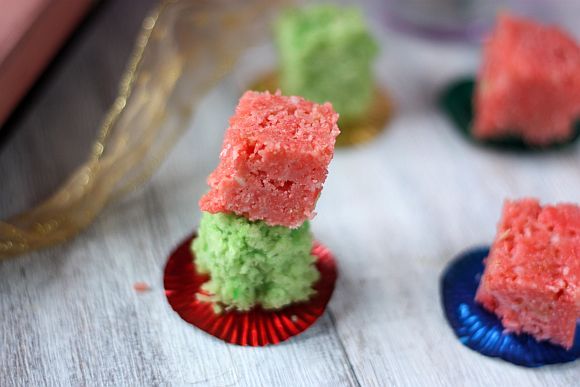
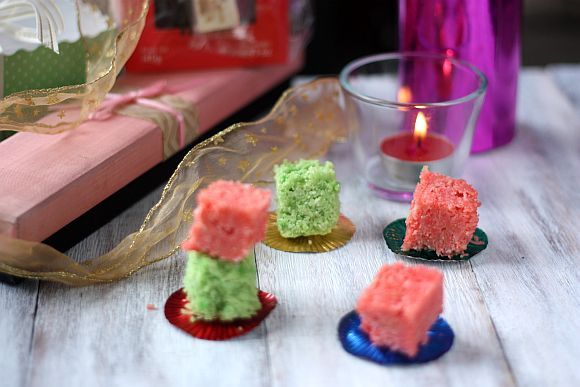
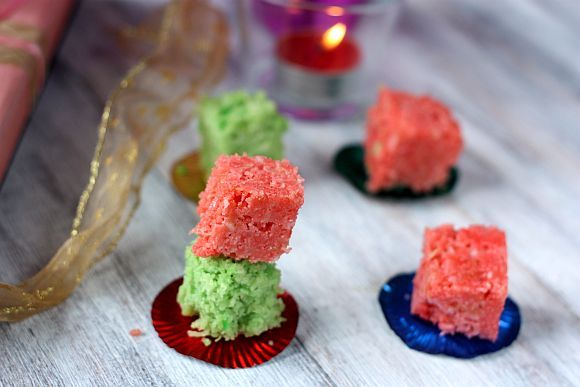
I have not had these treats for years and years. When we were little tots my mum would occassionally make this candy for us. We looked forward to these occasions and loved it mainly because it was chockful of sugar. Tell me which kid does not like candy! My mum would add different colours to the candy to brighten them up but she did ration our portions. We would hold each piece in our hands and slowly nibble on them, just to make the taste last longer.

xmas


So when I came across a Coconut Candy recipe in one of my cookbooks, memories came flooding back. Wouldn't it be great to make some for Christmas and colour them in red and green - the colour of Christmas. This recipe is so easy to make that any fledging cook could handle it. The candy makes great Christmas baked give-aways and I am sure the child in all of us will enjoy it as well. I hope you enjoy the holidays and wish you and your family a very Merry Christmas.

candy 2


Coconut Candy

Ingredients:

3 cups grated coconut (slightly pressed)
2 1/2 cups sugar
300 ml evaporated milk
2 Tablespoon butter
1/4 tsp salt
1 teaspoon vanilla
green and red food coloring

Method:

1) Place all ingredients except vanilla extract and food colouring in a saucepan and place over a low flame.

2) Using a wooden spoon constantly stir the ingredients and cook the mixture until it thickens, becomes a lump, leaves the side of the pan and cystalisation begins.

3) Add the vanilla extract and stir well.

4) Remove half the mixture into a bowl. For the mixture in the saucepan, add the red food colour and stir well.

5) In the other bowl add the green food colour and stir well.

6) Line a square 9" x 9" square pan with foil. Lightly butter the foil and then spread one half of the pan with the red candy and the other half with the green.

7) Press down the mixture to compress it slightly. Cool completely before cutting in squares.

candy 1


candy 3

Sunday, December 18, 2011

Christmas Sandies

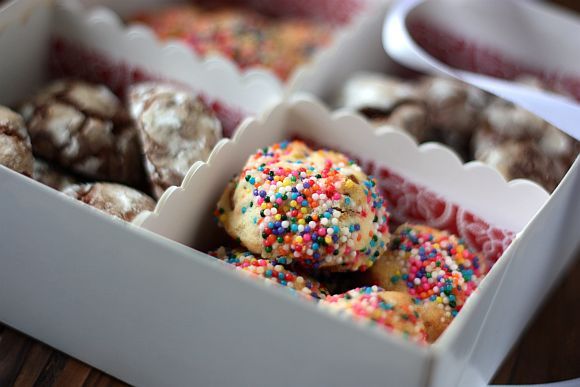
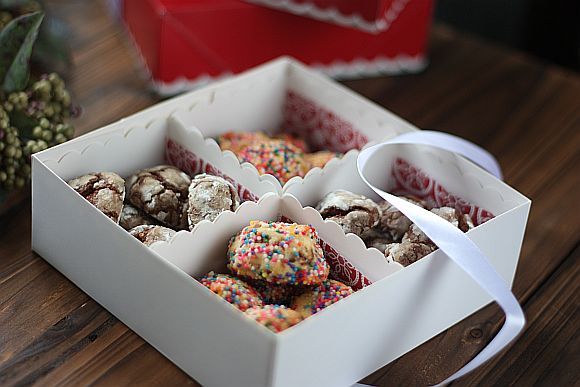
These cookies were on the cover of this month's "Desserts" and the entire magazine featured Christmas cookies. Such a timely publication as well. There was even a section covering popular Christmas cookies from around the world. The issue came out at the right moment as I was having difficulty picking a cookie recipe to bake from. In the end I decided on the Christmas Sandies and Crackle Cookie

xmas sandie 1


For the last three Christmas holidays, I would bake rather than buy gifts. I think a baked gift is so much more personal than a store-bought gift. I guess if you simply cannot bake or cook, you would have no choice but to go shopping. I too used to buy my gifts. The problem I faced each year is planning what to buy. On top of that I also need to remember what I have given in the past so as not to repeat them again. I think when you buy gifts from friends, the rule of thumb is probably buy something that you would use as well.

If you are like me, I am sure you have at one point of time received a gift that was totally useless. Interestingly I had read in the past that the top ten most useless gifts that someone would give includes toiletries, photo frames, towels, mugs, key chains and stuffed toys.

Photobucket


Christmas Sandies
Recipe Adapted from "Desserts Magazine #24)
Makes 36 1-inch cookies
Print Recipe

Ingredients:

226g unsalted butter
1/3 cup icing sugar
1 tsp vanilla extract
2 cups all purpose flour
1 cup finely chopped dried cranberries
2 tsp finely chopped mixed orange/lemon peel
Coloured nonpareils

Method:

1) Preheat oven to 180C. Line cookie baking trays with parchment paper.

2) Cream butter and icing sugar until combined and soft. Add in vanilla and beat for another 30 seconds.

3) Add in flour in 2 separate additions until combined. Add in dried fruits.

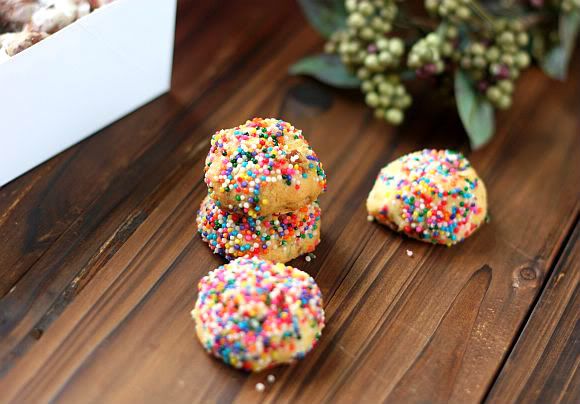
4) Shape into 1" size balls and drop each ball into the coloured nonpareils until well coated.

5) Arrange balls 1" apart in the prepared trays. Bake for about 14 - 15 minutes. Transfer to wire racks and let it cool. Store in room temperature for up to 3 days or freeze for up to 3 months.

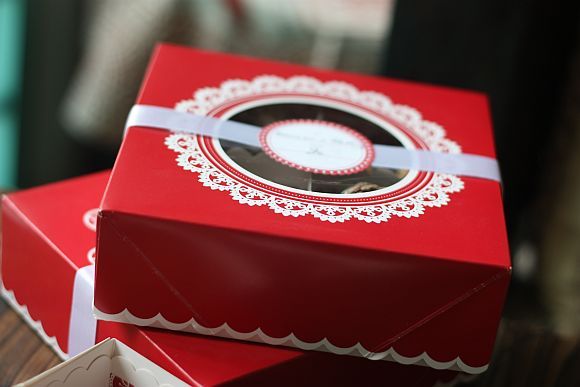
# The cookie boxes are from Martha Stewart's store.

xmas sandie 2


xmas sandie 4

Monday, December 12, 2011

Banana Walnut Loaf

I love baking with bananas and am always on the lookout for a good recipe to try out. I baked muffins, cupcakes and cakes with this fruit but have yet to make a banana bread.

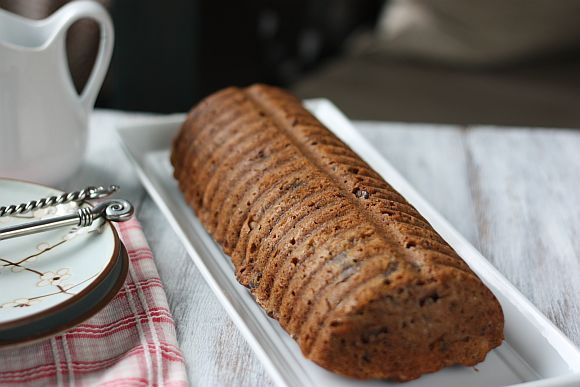
I tried out this recipe a few weeks back when my parents were in town paying me a visit. As uaual with all my posted recipes, the amount of sugar has been reduced from the original recipe. I used extremely ripe local bananas called "Pisang Emas" (golden bananas) which very flavourful and sweet. The Banana Bread turned out extremely good, moist and with lots of texture.

Photobucket


Banana loaf 5


Banana Nut Bread
Recipe adapted from "Marthastewart.com"
Print Recipe

Ingredients:

113g unsalted butter, softened
1/3 cup of white sugar (already reduced from original recipe)
1/3 cup of brown sugar (already reduced from original recipe)
2 eggs
1 1/2 cups all purpose flour
1 tsp baking soda
1 tsp salt
1 cup very ripe bananas, mashed
1/2 cup of sour cream
1 tsp vanilla extract
2/3 cups chopped toasted walnuts
1/3 cup chocolate chips, preferably dark chocolate

Method:

1) Preheat the oven to 180C. Grease a 9x5x3 loaf pan and then line with parchment paper.

2) Sift flour, baking soda and salt in a bowl. Leave aside.

3) Beat butter and sugars together until light and fluffly, about 4 minutes.

4) Add eggs one at a time and beat until combined. Then add the vanilla extract.

5) Add in the dry ingredients in 2 separate additions and combine. Do not overmix.

6) Then slowly add in the sour cream and bananas and give it a gentle stir. Pour batter into pan and bake for about 45 - 60 minutes or until a tester inserted into the center comes out clean. Cool on a rack. You can serve this slightly warm or at room temperature. This loaf keeps extremely well due to the bananas and sour cream.

Banana loaf 3


Banana loaf 2


Banana loaf 4
Related Posts with Thumbnails